The bridge pose, known as Setu bandhasana in sanskrit, is a fairly common pose in yoga, pilates and as a physio given exercise.
It can be done in a number of ways, but the way that I use it is to maximise the feeling of mobility within the spine. Also taking your time in doing it, rather than just a pelvic thrust to the ceiling, might help to gain more control (and stability) into the muscles around the spine.
Equipment
None necessary, but a mat will make the floor more comfortable. A thin pillow might be necessary to support the head if your chin really sticks up to the ceiling, but see the considerations below.
Steps
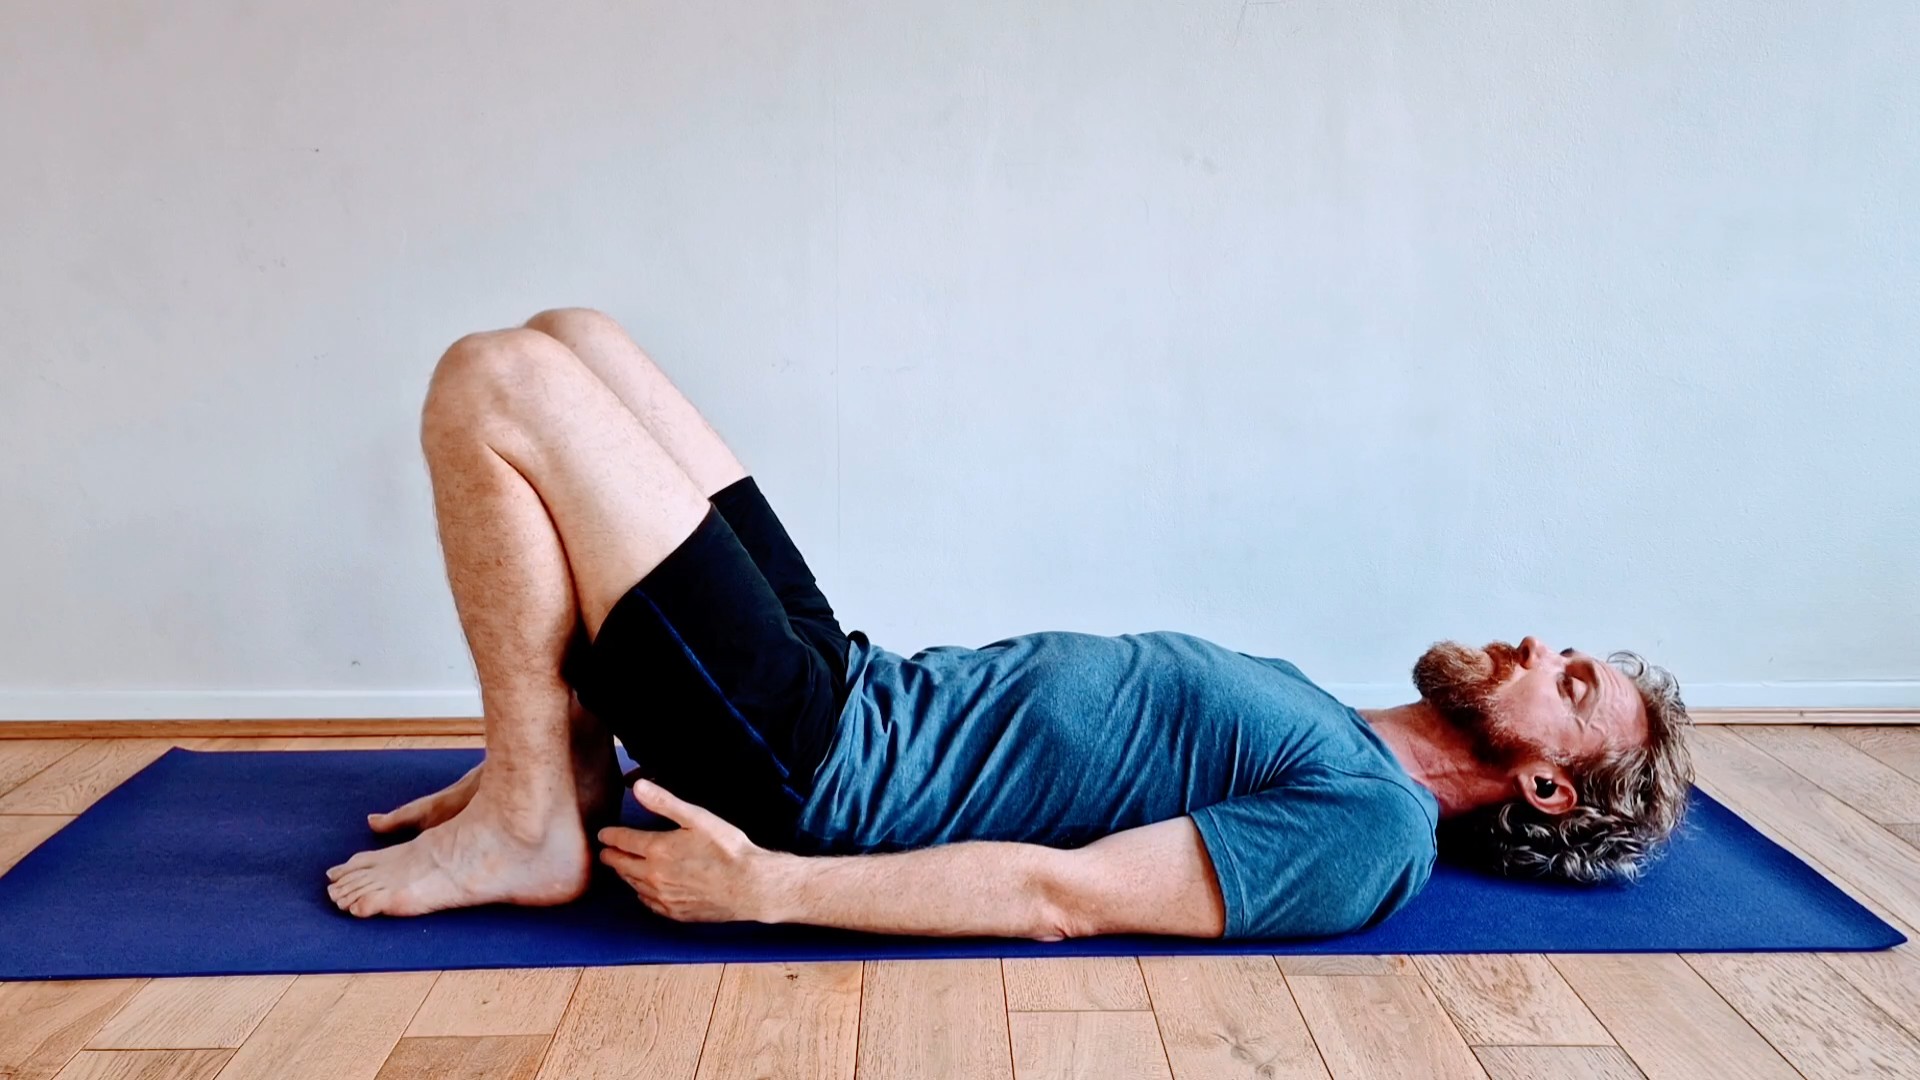
- Lie on the floor. Head minimally supported.
- Have your feet hip width apart, arms down by your side.
- Have your feet comfortably close to your pelvis. The heels do not have to be jammed against the sitting bones, but they should not be a long way from the pelvis (see considerations below)
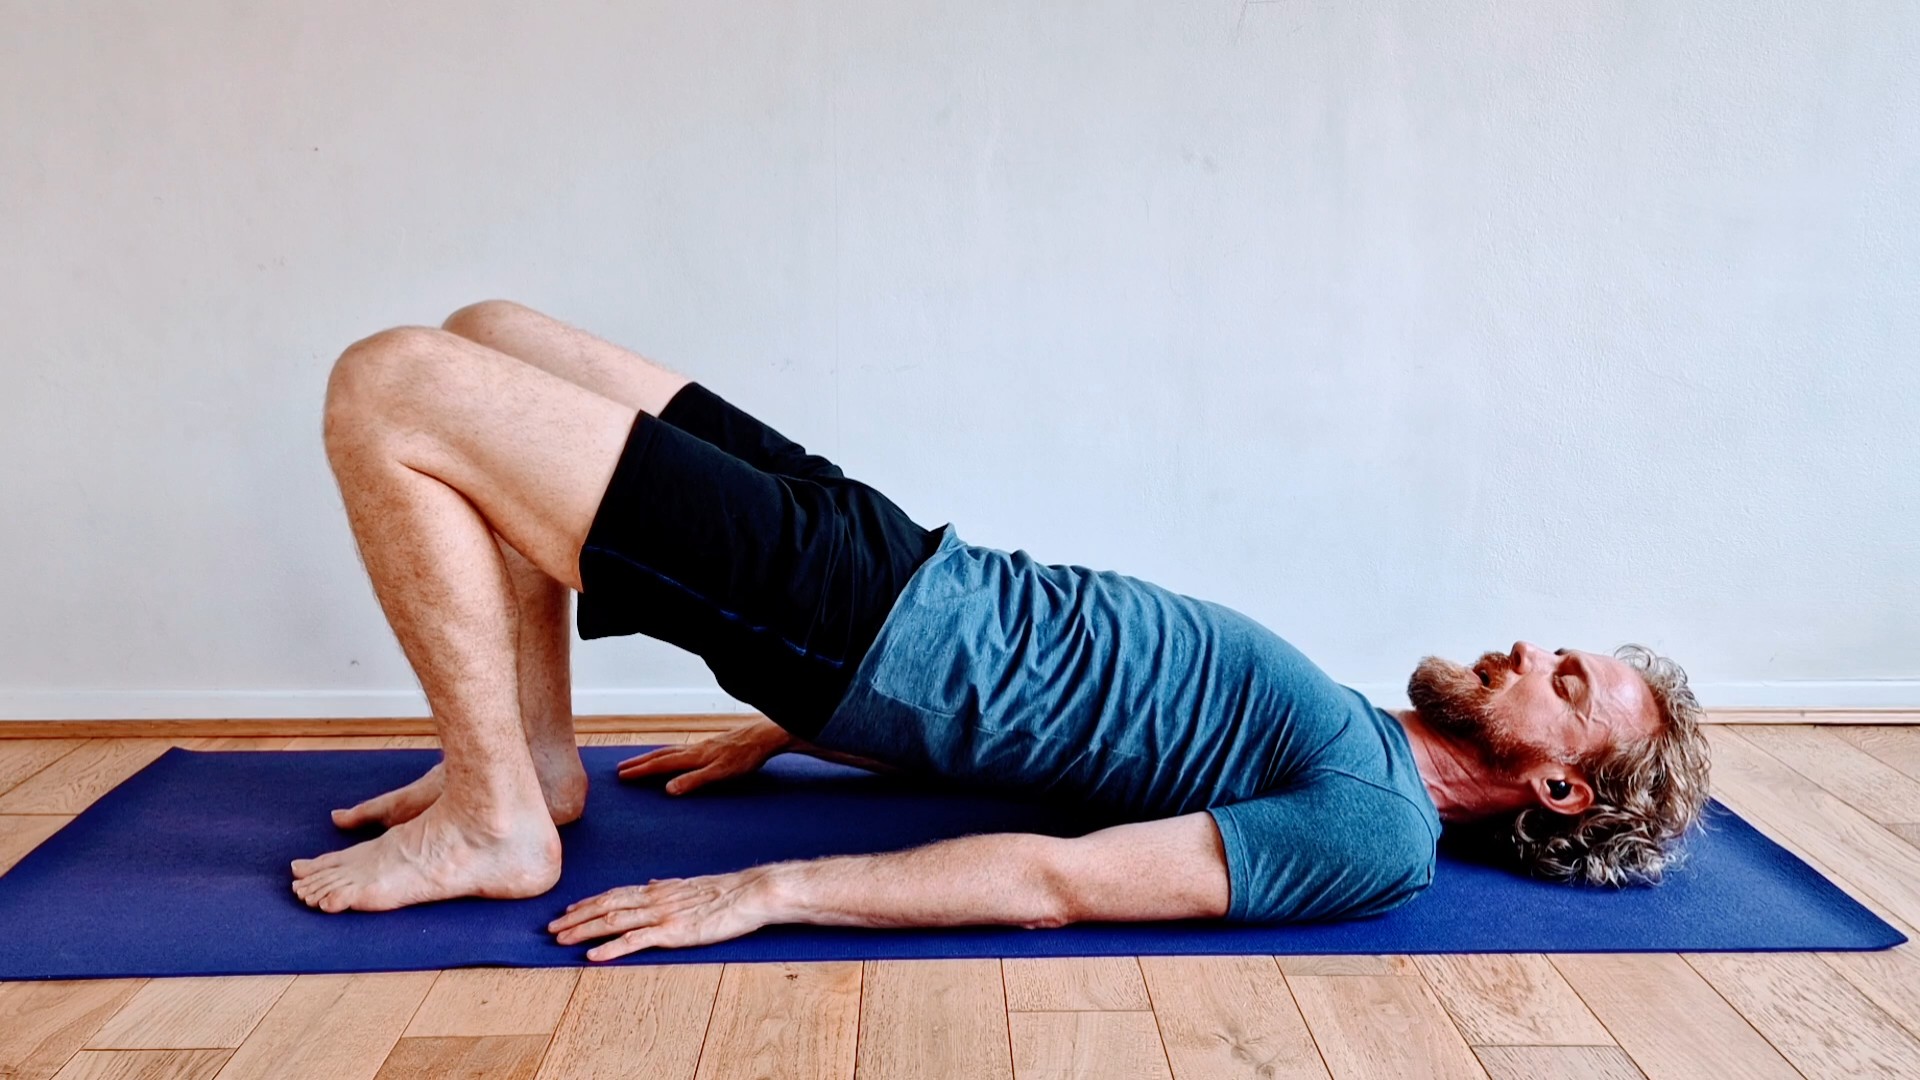
- As you breathe out, push down into your feet.
- Push into the feet hard enough to lift the pelvis. It may feel like it is tipping away from the tail bone, lumbar spine flattening onto the floor.
- The knees travel slightly over the feet heading towards the toes. This feels like it gives a bit of space for the pelvis to move into.
- Slowly peel the spine away from the floor, lifting the pelvis higher. Imagine that you are, somehow, lifting each vertebra from the ground, one after another. You might want to image that the spine is like a bead necklace, and you are lifting one bead at a time off the floor.
- The first time you do the movement don’t feel like you need to rush to get to the tops of the shoudlers. This can be a lovely soothing and softening motion, so only lifting the pelvis, or maybe lumbar spine from the floor, and slowly building the amount of spine lifted can be very pleasant and informative.
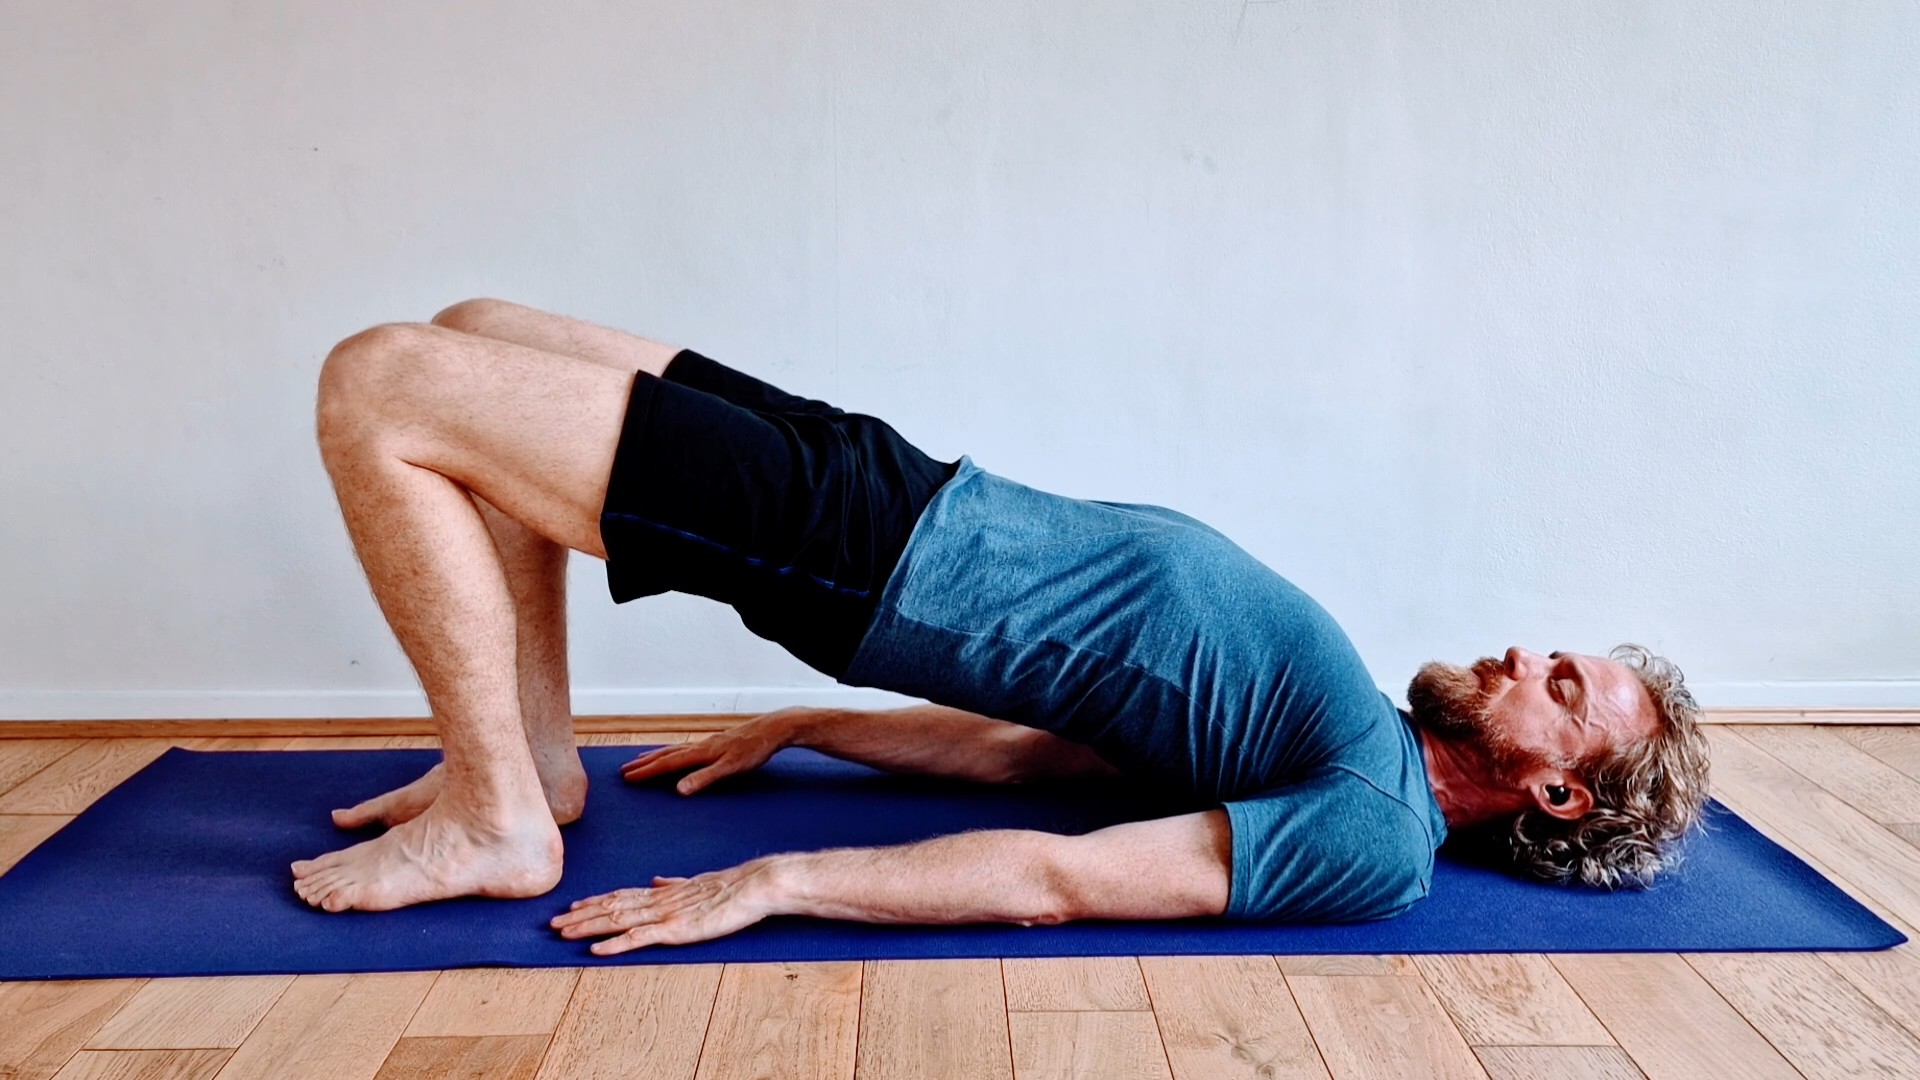
- If you are taking the pelvis as high as you can into the bridge pose, the arms and hands push down so that you can lift the spine up between the shoulderblades. Do not lift to the maximum height if you have a cushion under the head as this may not be good for your neck.
- Have a breath at the maximum lift for that bridge pose.
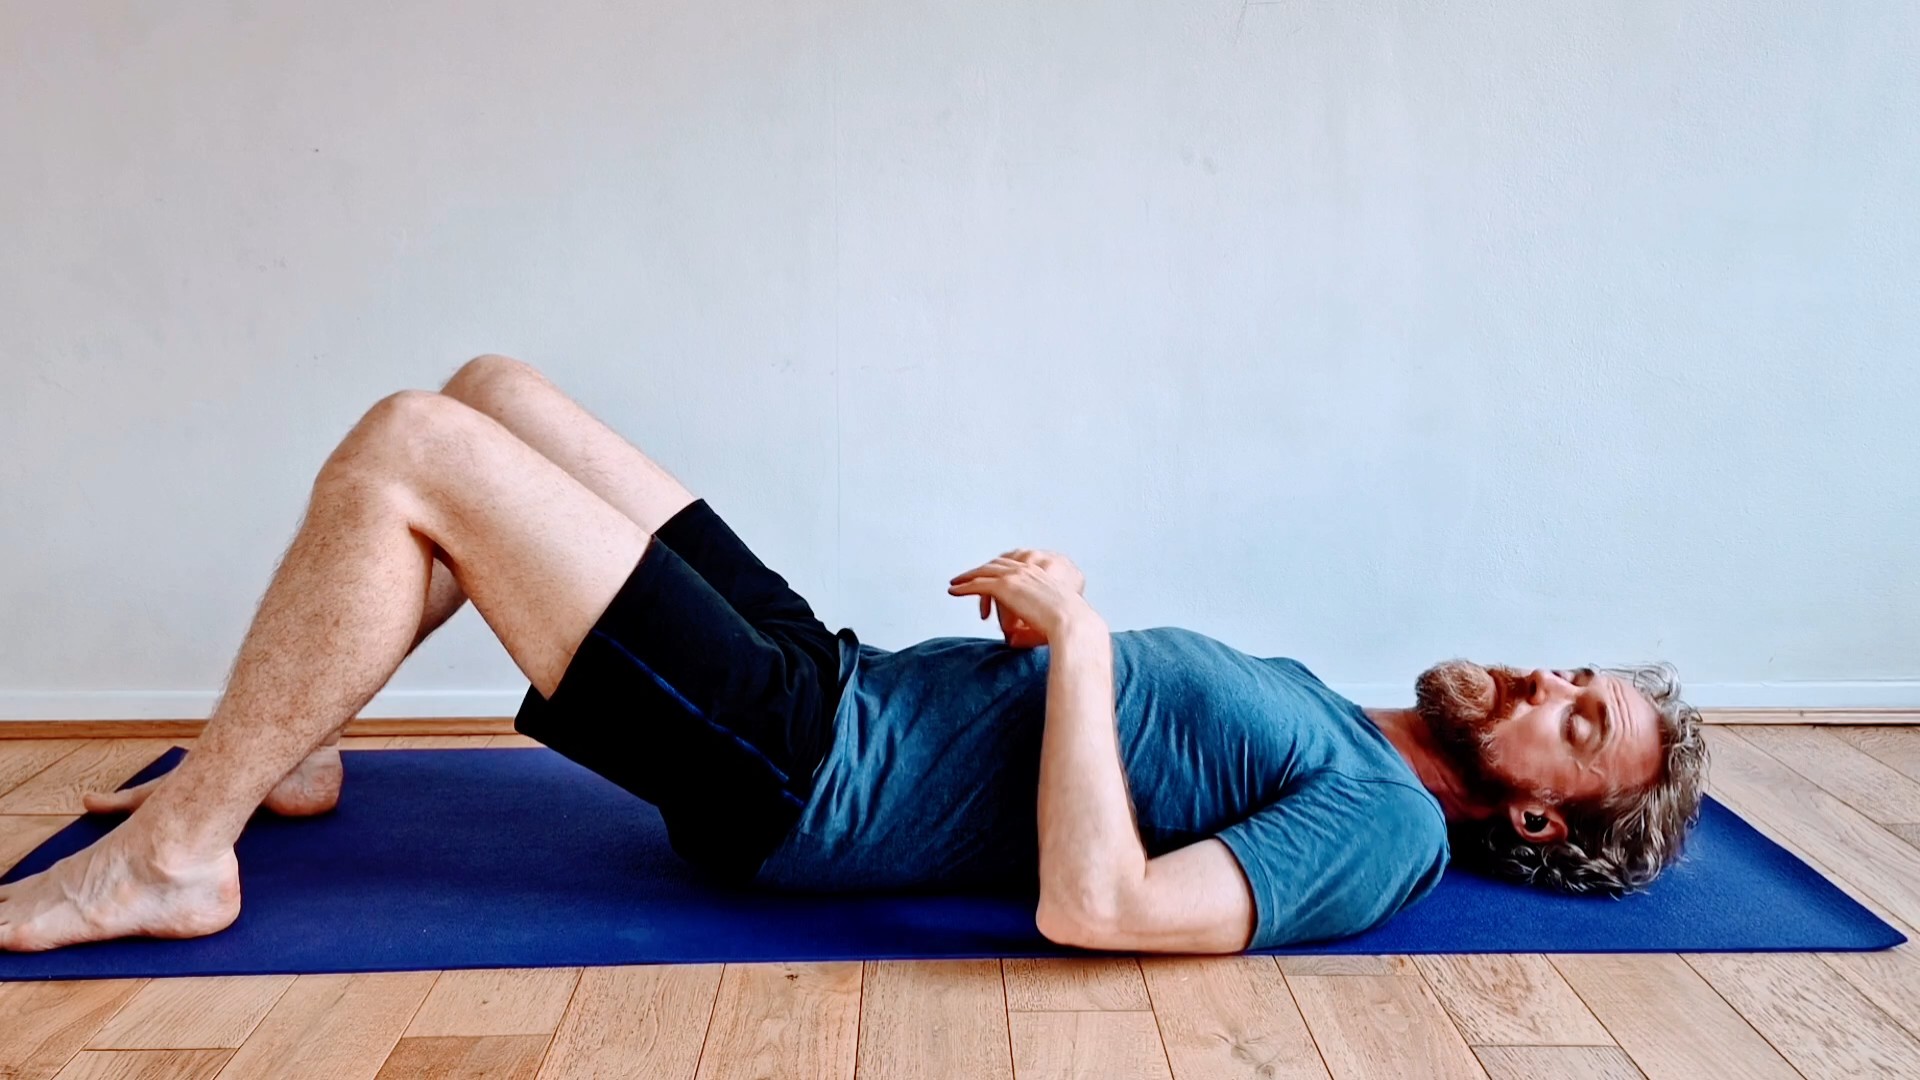
- Lower the spine and pelvis back down towards the ground. Imagine that each vertebra is being placed down one at a time, and somehow there is a bit more space being created between them.
- Once the pelvis is back on the ground, have a full inbreath and outbreath.
- Repeat from step 4 as many times as you want, maybe lifting the pelvis higher with each repetition.


Considerations
Foot position
In the above description, the feet are comfortably close to the pelvis. This means that the muscular effort, particularly at the extreme, is more glute (buttock) focussed than purely hamstrings. If you take your feet further away then the effort is more into the hamstrings and not into the glutes. In my experience most people would gain more from using their glutes and not relying as much on their hamstrings.
Pillow under head
If your chin juts up when you lie on the floor, which is often teh case if you have a head forward position, you may want to place a cushion under your head.
However, if you do this, I strongly advise that you keep the bridge low whilst the pillow is there. The bridge pose ultimately puts the head into flexion (where the chin is tucked in) and the pillow will make this a bit too strong for most people’s necks. If you want to take your pelvis higher, than I would remove the pillow to allow a bit of space for your head to move.

Video
Here’s a short video of me doing the movement.
Thanks for reading this my lovely Interonauts.
Tim


