Ingredients:
- Cabbage*
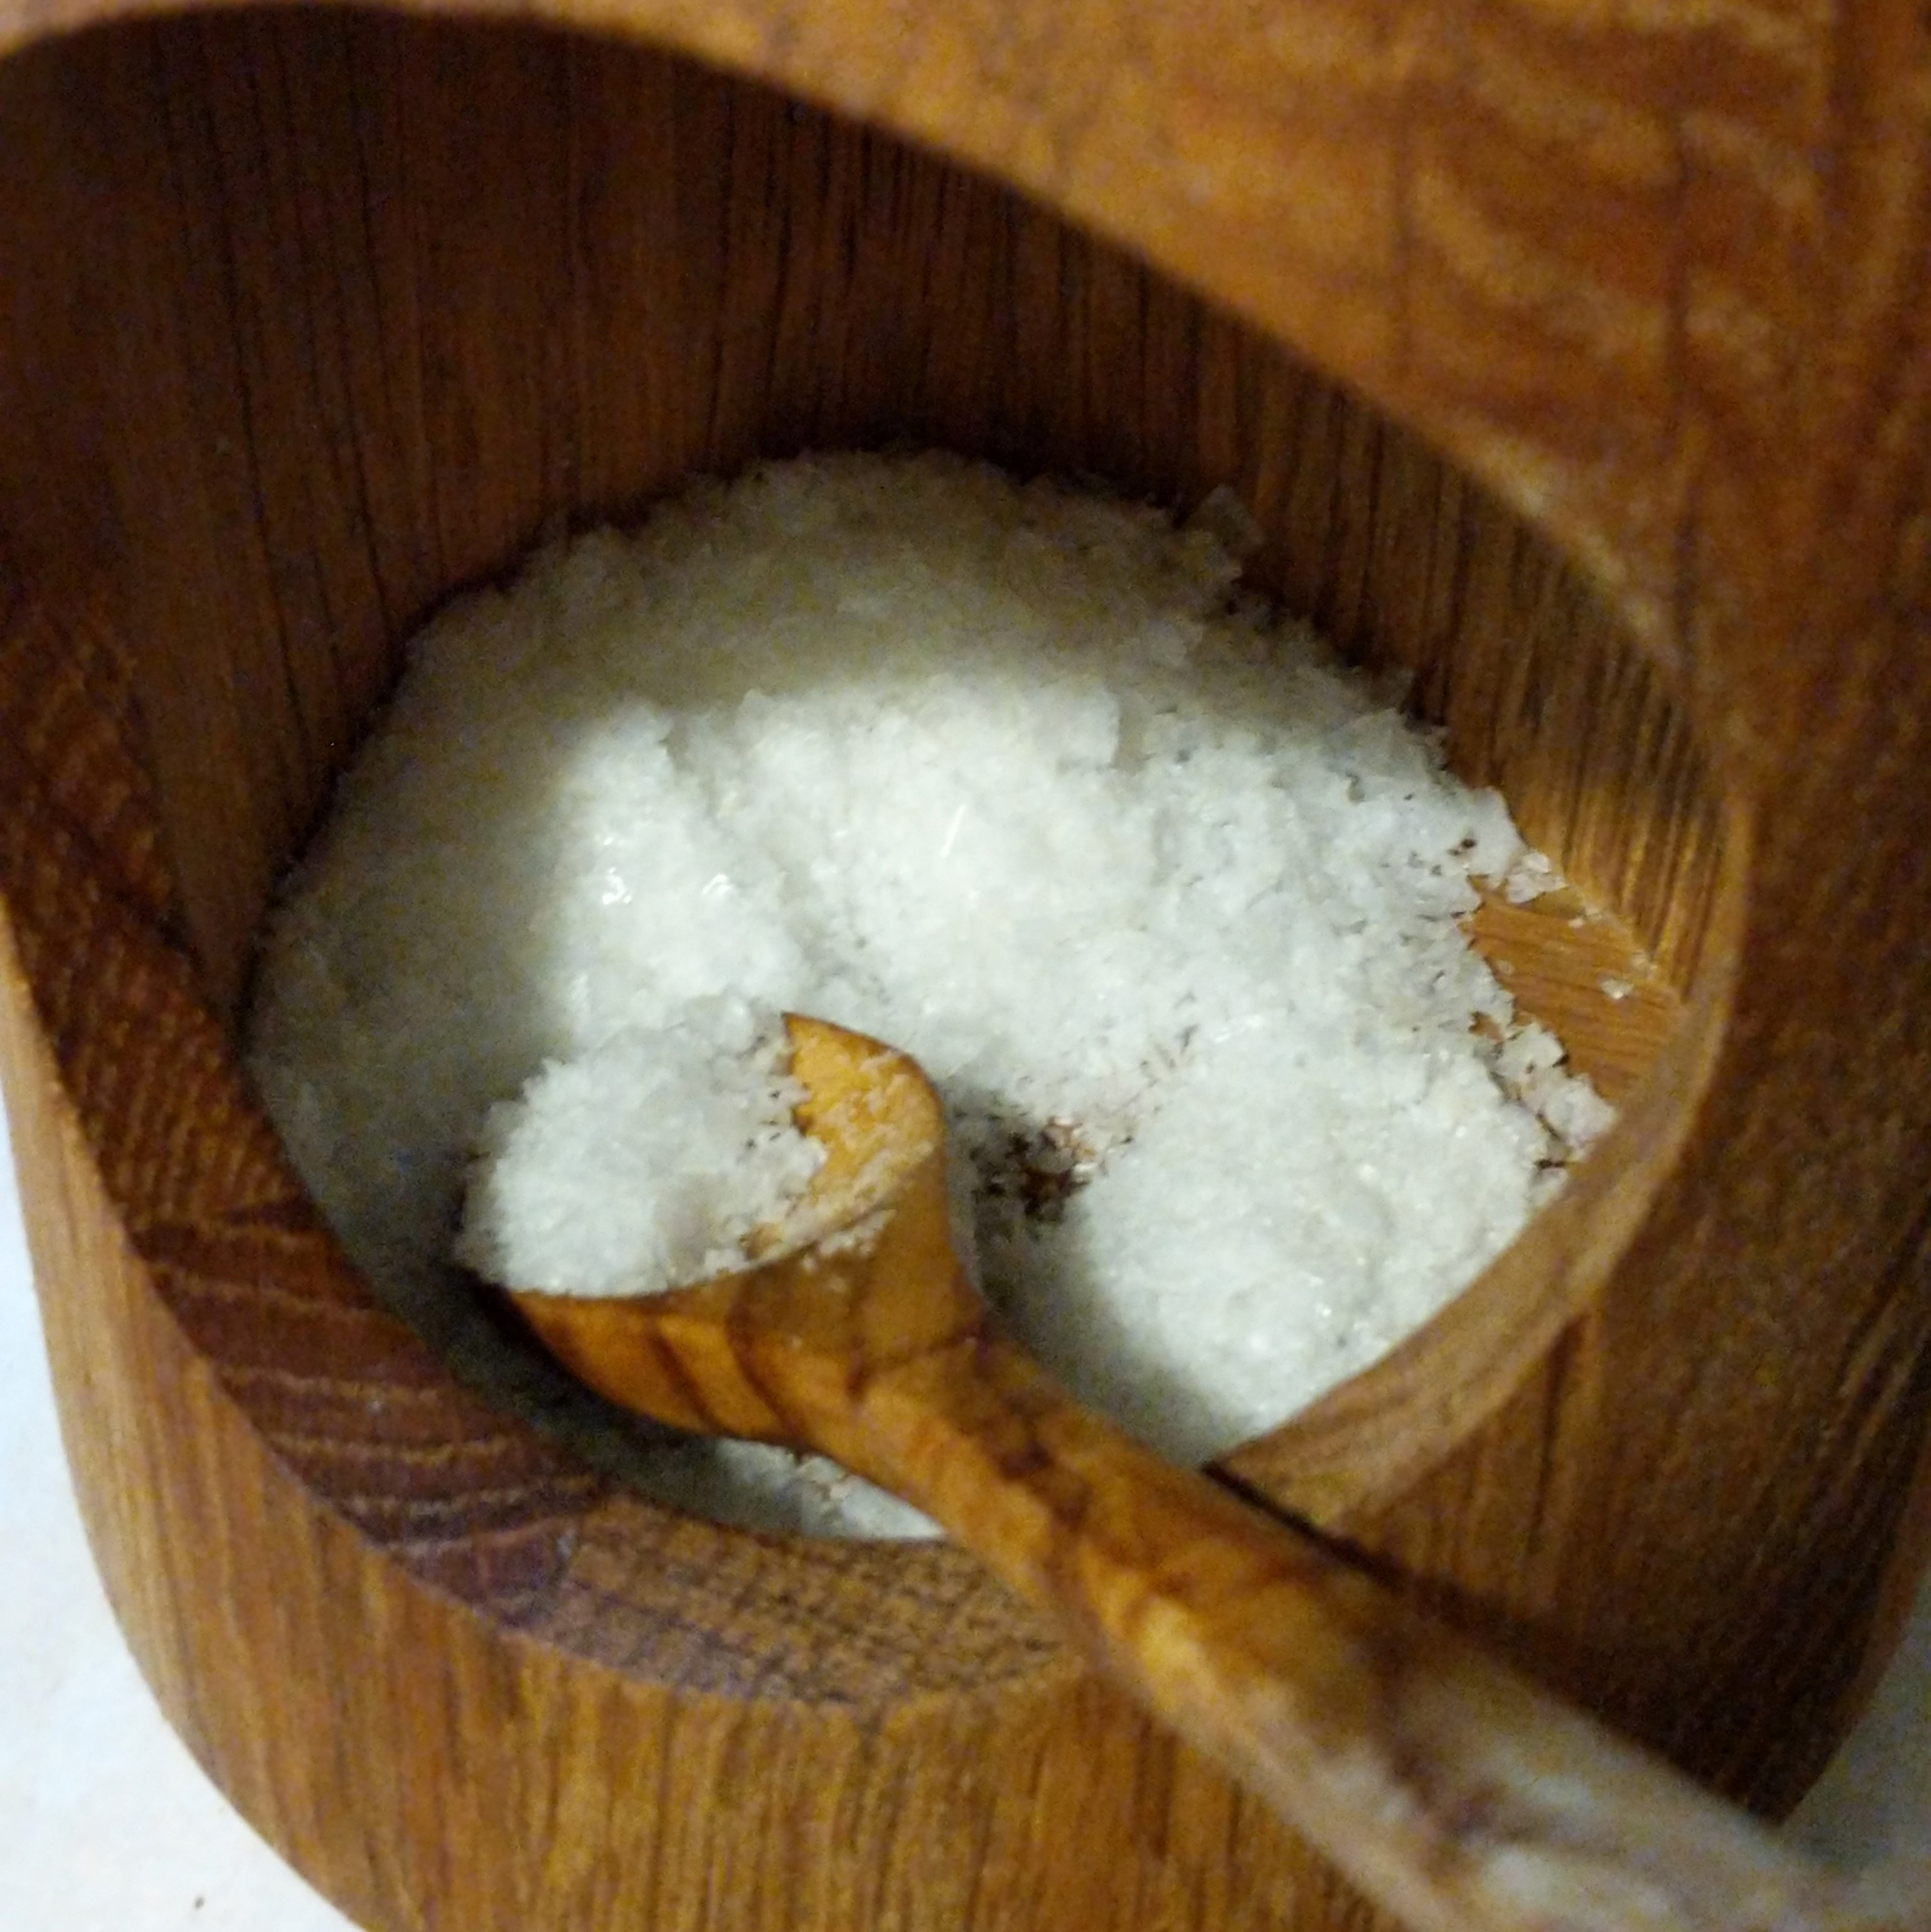
- Salt** (approx 1.5 tsp per quarter of cabbage)
- Water
- Caraway seeds (optional, approx 1 tsp per quarter of cabbage)
Equipment
- Knife
- Chopping board
- Large bowl
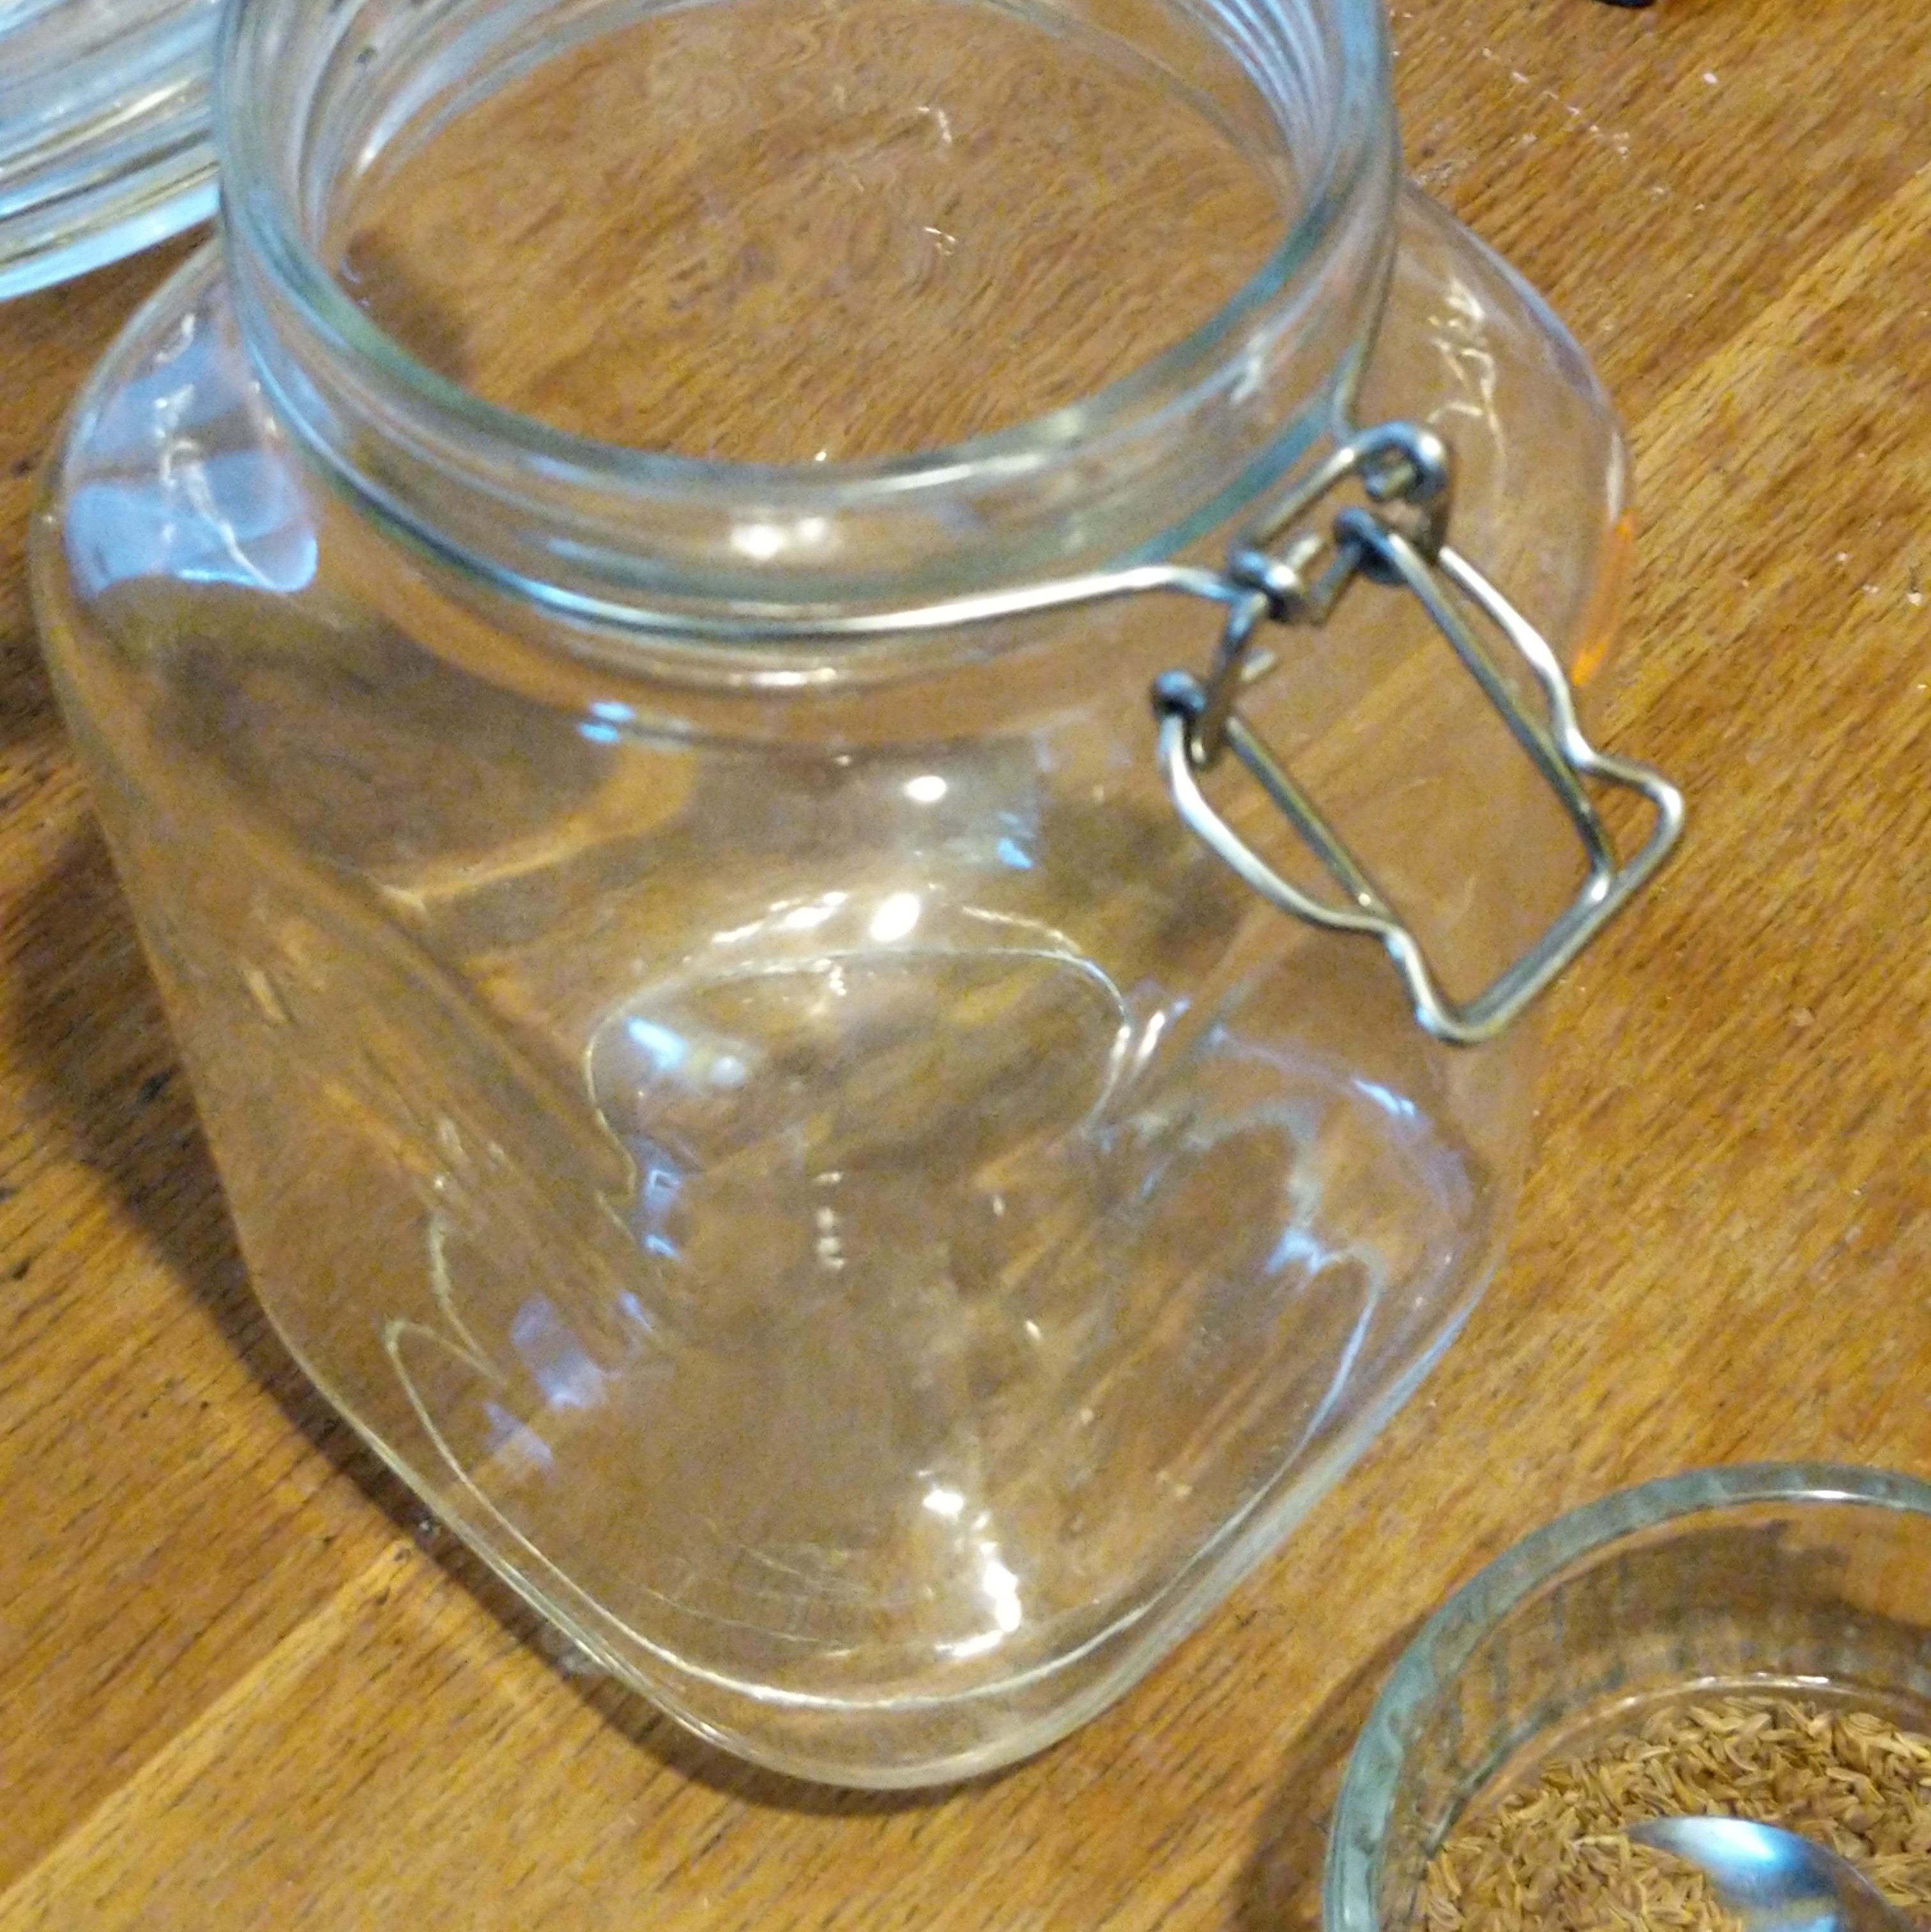
- Large Kilner jar***
- Jam jar (that fits inside the neck of the kilner jar) to act as a weight.
- Muslin square
*I use a white cabbage as I like the crunchy texture this maintains after fermentation. I have tried a savoy and it was nice, if a bit soft; I’ve not tried a pointy or a red cabbage, but give it a try if you like.
**I use sea salt, but only as that is what we have, and apparently it has a wider range of minerals in it.
***I think this is the same as a Mason jar in the USA, or at least very similar. Any large receptacle would work, you just need to be able to cover it, and also have something to weigh the cabbage down with.

Method:
1) Save a couple of the outer leaves from the cabbage, as these will be used to keep the shredded cabbage beneath the brine, later in the process.
2) Slice the cabbage as finely as you want. I typically cut a cabbage into eighths and slice into half centimetre slices.
3) Put into a large bowl and sprinkle with salt. I use 1.5 heaped teaspoons per quarter of the cabbage.

4) Now get your hands dirty and start to squish and squeeze the cabbage. The salt starts to draw liquid out of the cabbage and it starts go translucent.
5) When the cabbage slices have become translucent and liquid is collecting in the bottom, add the caraway seeds if you are using them and mix again. If you don’t really want to eat the caraway seeds you can add them to the bottom of the kilner jar.

6) Transfer the cabbage and liquid to a large kilner jar, packing tightly.

7) Place the outer leaves over the top.
8) After a mishap once, I top up the liquid levels with brine so that all is covered.
9) Place a weight (I use a water filled jam jar) on top of the leaves to keep it all submerged. Then cover the top of the kilner with a muslin cloth (keeps flies out but allows the fermentation bacteria access)
10) Place in a cupboard, in a few days there should be some bubbles forming on the surface.

11) A few days after the bubbles. Transfer to sealed jars, topping up with more brine as necessary.
12) I do not pasteurise my sauerkraut so this needs to be eaten within a few weeks. Keeping open jars in the fridge.
So that’s my recipe for sauerkraut, which I have grown to love. I hope you have fun doing it and enjoy the taste. I tend to have it in bagels with cheese and ham, as I find the pepperiness of the cabbage adds a pleasant flavour.
Let me know how you get on if you decide to do this yourself.
Tim