Like the three breathing exercises based up on the Brugger Exercises (First one is here) the aim of this exercise is to help identify the way that we breathe. One of the areas that often needs investigating is how much (or little) our ribcage actually moves during our breathing cycle.
This is something that I was introduced to by my Yoga teacher, which is why they’re called the Sharira Mudra Sequence. A mudra is a positioning of hands or fingers that provides a sensory loop that feels like a circuit has been closed. In the Ayurvedic approach, I believe the mudras are meant to stimulate different energy points and are meant to bring a multitude of health benefits. I won’t make any such claim for this, but I find that breathing always seems to help, and using the hands to notice the motions gives us a tactile response and feedback that can softly and gently help to get the ribs involved again.
The breathing in this exercise should not be making you feel anxious, so if you start to feel odd or worried doing this exercise then please stop and go back to breathing as you normally would.
Steps
Find a comfortable sitting or reclining position. You want to have the spine as long as possible, so that you’re not slumped over but also not straining to have a straight spine. You can do this lying down in bed, but you also don’t want to be in danger of falling asleep and some of the hand positions might be harder to accomplish.
Breathe. This exercise doesn’t actually need you to do more than just breathe normally. The focus is on the hands and where they meet the ribcage.
Notice the movement of the ribcage in each of the following hand positions. This should be for approximately 5-10 breathes in each position.
Hand position 1
- The hands either rest upon the sides of the body at the lowest ribs.
- Ideally the palms face towards the feet (or ground if you’re sitting or standing) so that the thumb tucks around the back of the body, and the side of the index finger comes round towards the front.
- Notice the feeling of any movement where the ribcage meets the hands. I feel like the ribs move sideways into my hands.
Hand position 1A
This one isn’t actually part of the official series, but is nice to do if you can spare the time
- The hands either rest upon the sides of the body halfway up the ribs, which is just below the breasts/pecs. (Or about the bra line).
- Ideally the palms face towards the feet (or ground if you’re sitting or standing) so that the thumb tucks around the back of the body, and the side of the index finger comes round towards the front.
- Notice the feeling of any movement where the ribcage meets the hands. I feel like the ribs move sideways and slightly forward into my hands.
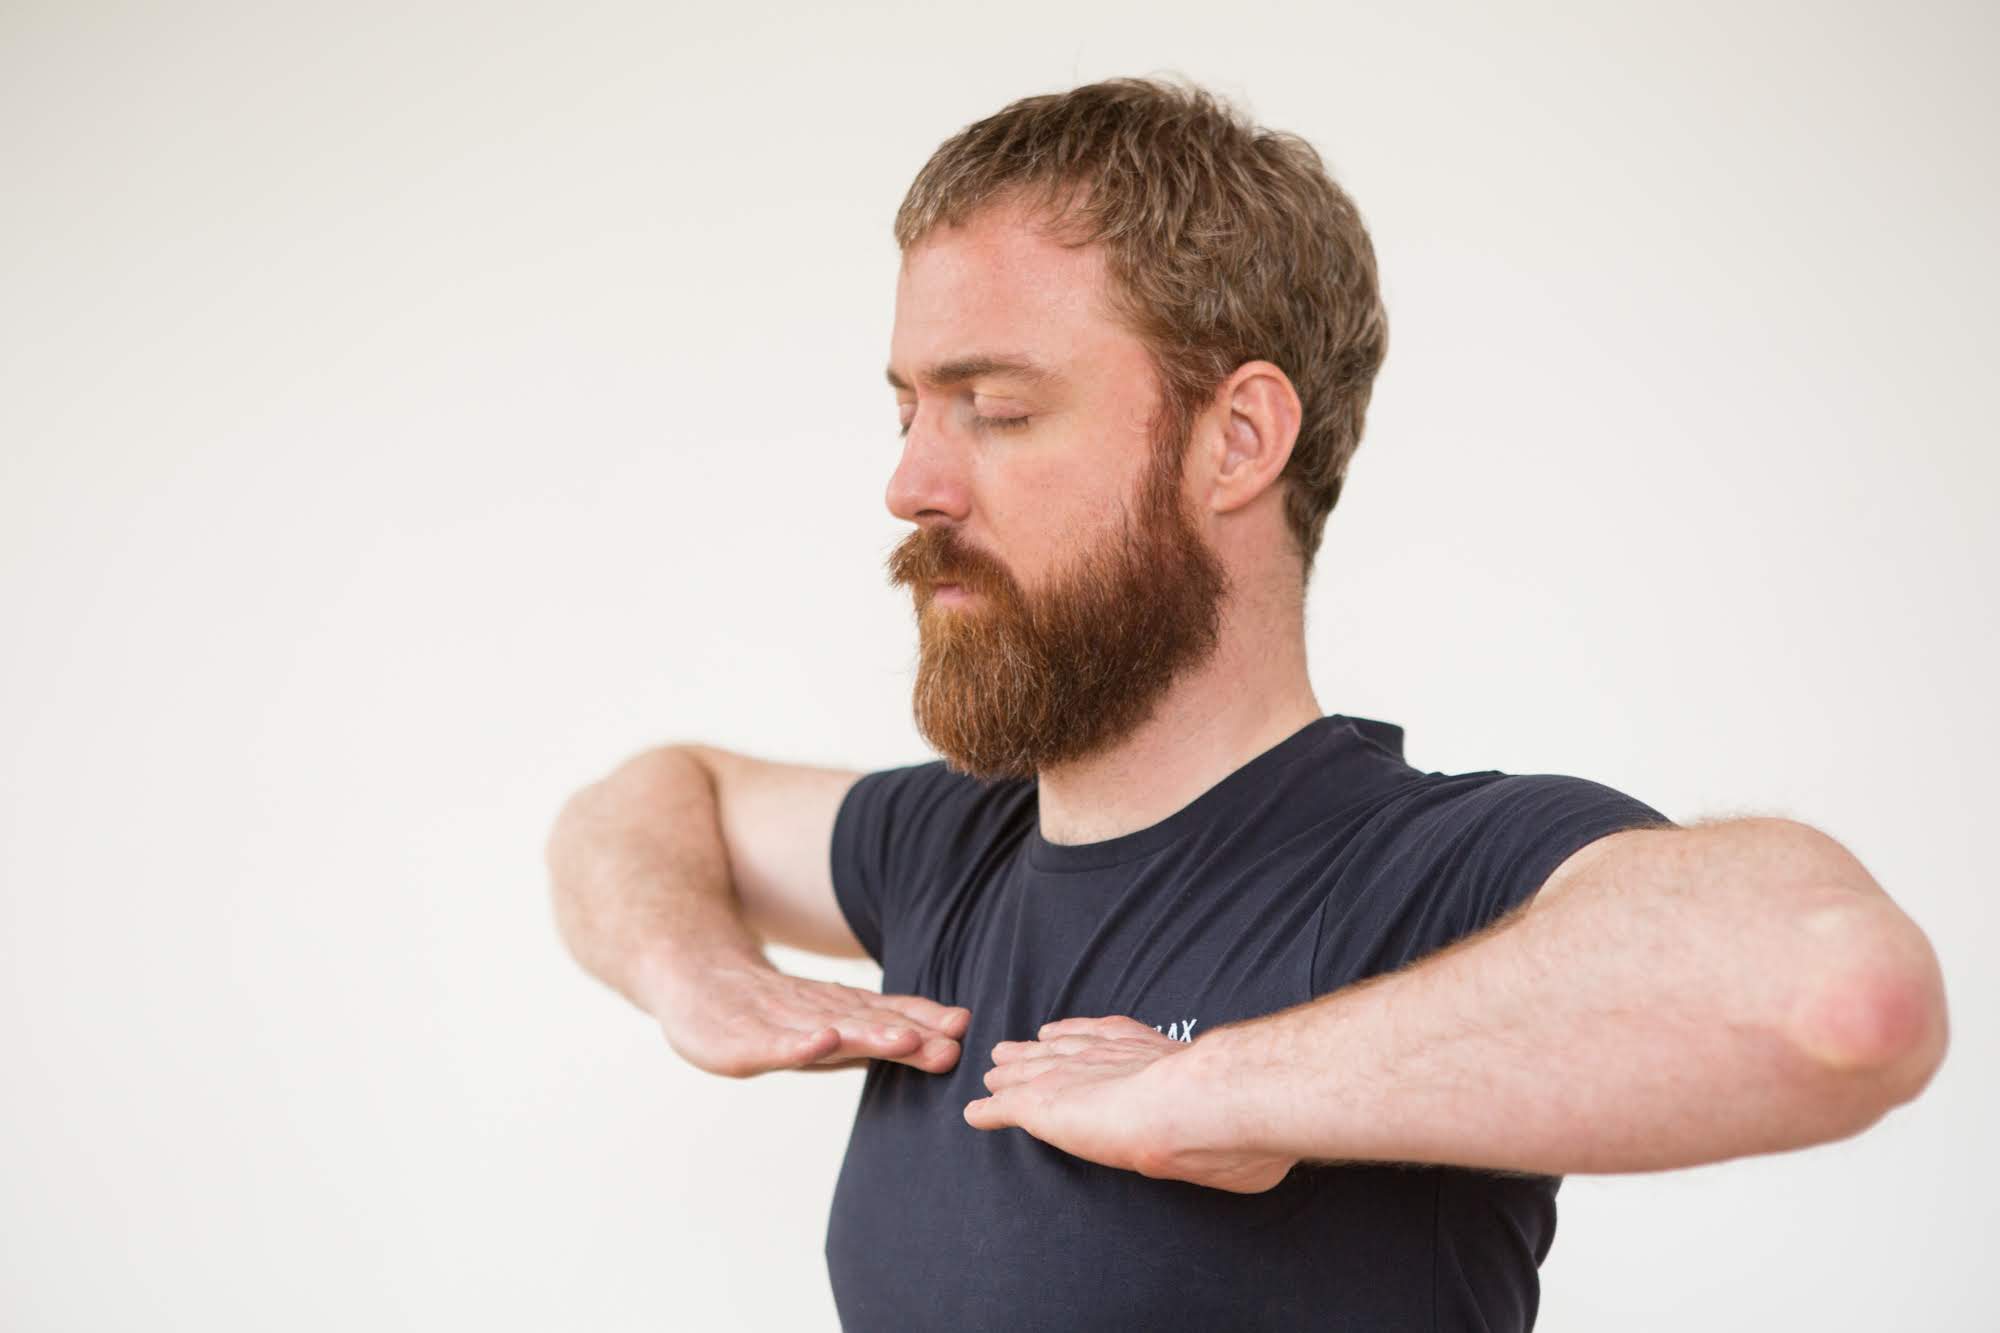
Hand position 2
- The hands come right up to the collar bones, with the thumbs tucked into the arm pit (see picture on the right). The index finger should run along just below the collar bone.
- Ideally the palms face towards the feet (or ground if you’re sitting or standing).
- Notice the feeling of any movement where the ribcage meets the hands. I feel like the ribs move forward (upwards) into my hands rather than sideways.

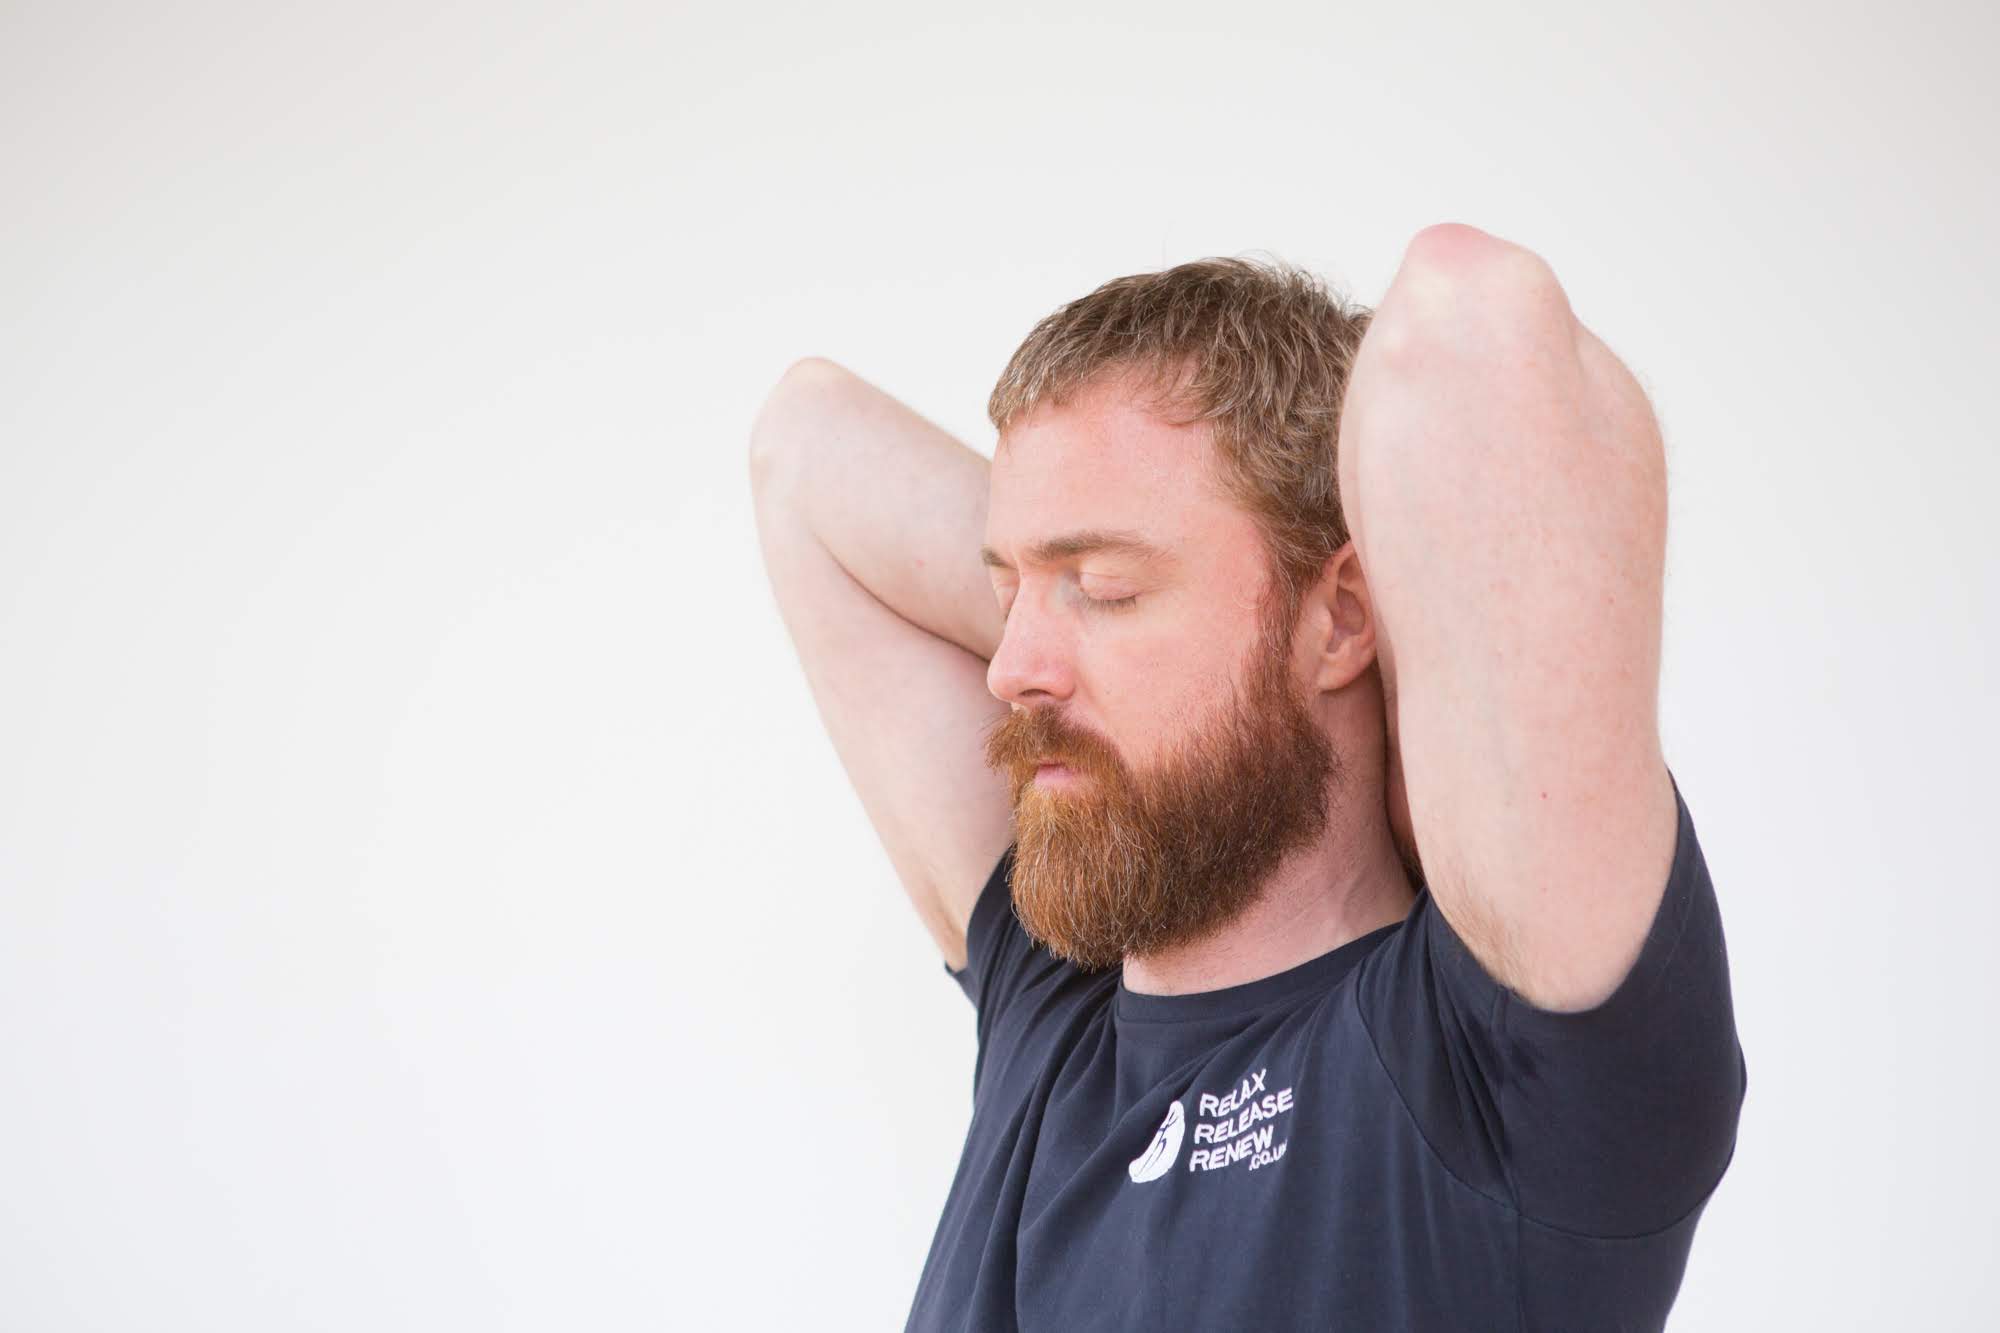
Hand position 3
- The arms come up by the side of the head, elbows bend and the hands come rest on the upper back.
- This can be quite challenging if you have any issues with your shoulders, so don’t force it and stay in any of the previous positions.
- Notice the feeling of any movement where the ribcage meets the hands. I feel the least rib movement in this position, and it is quite subtle.

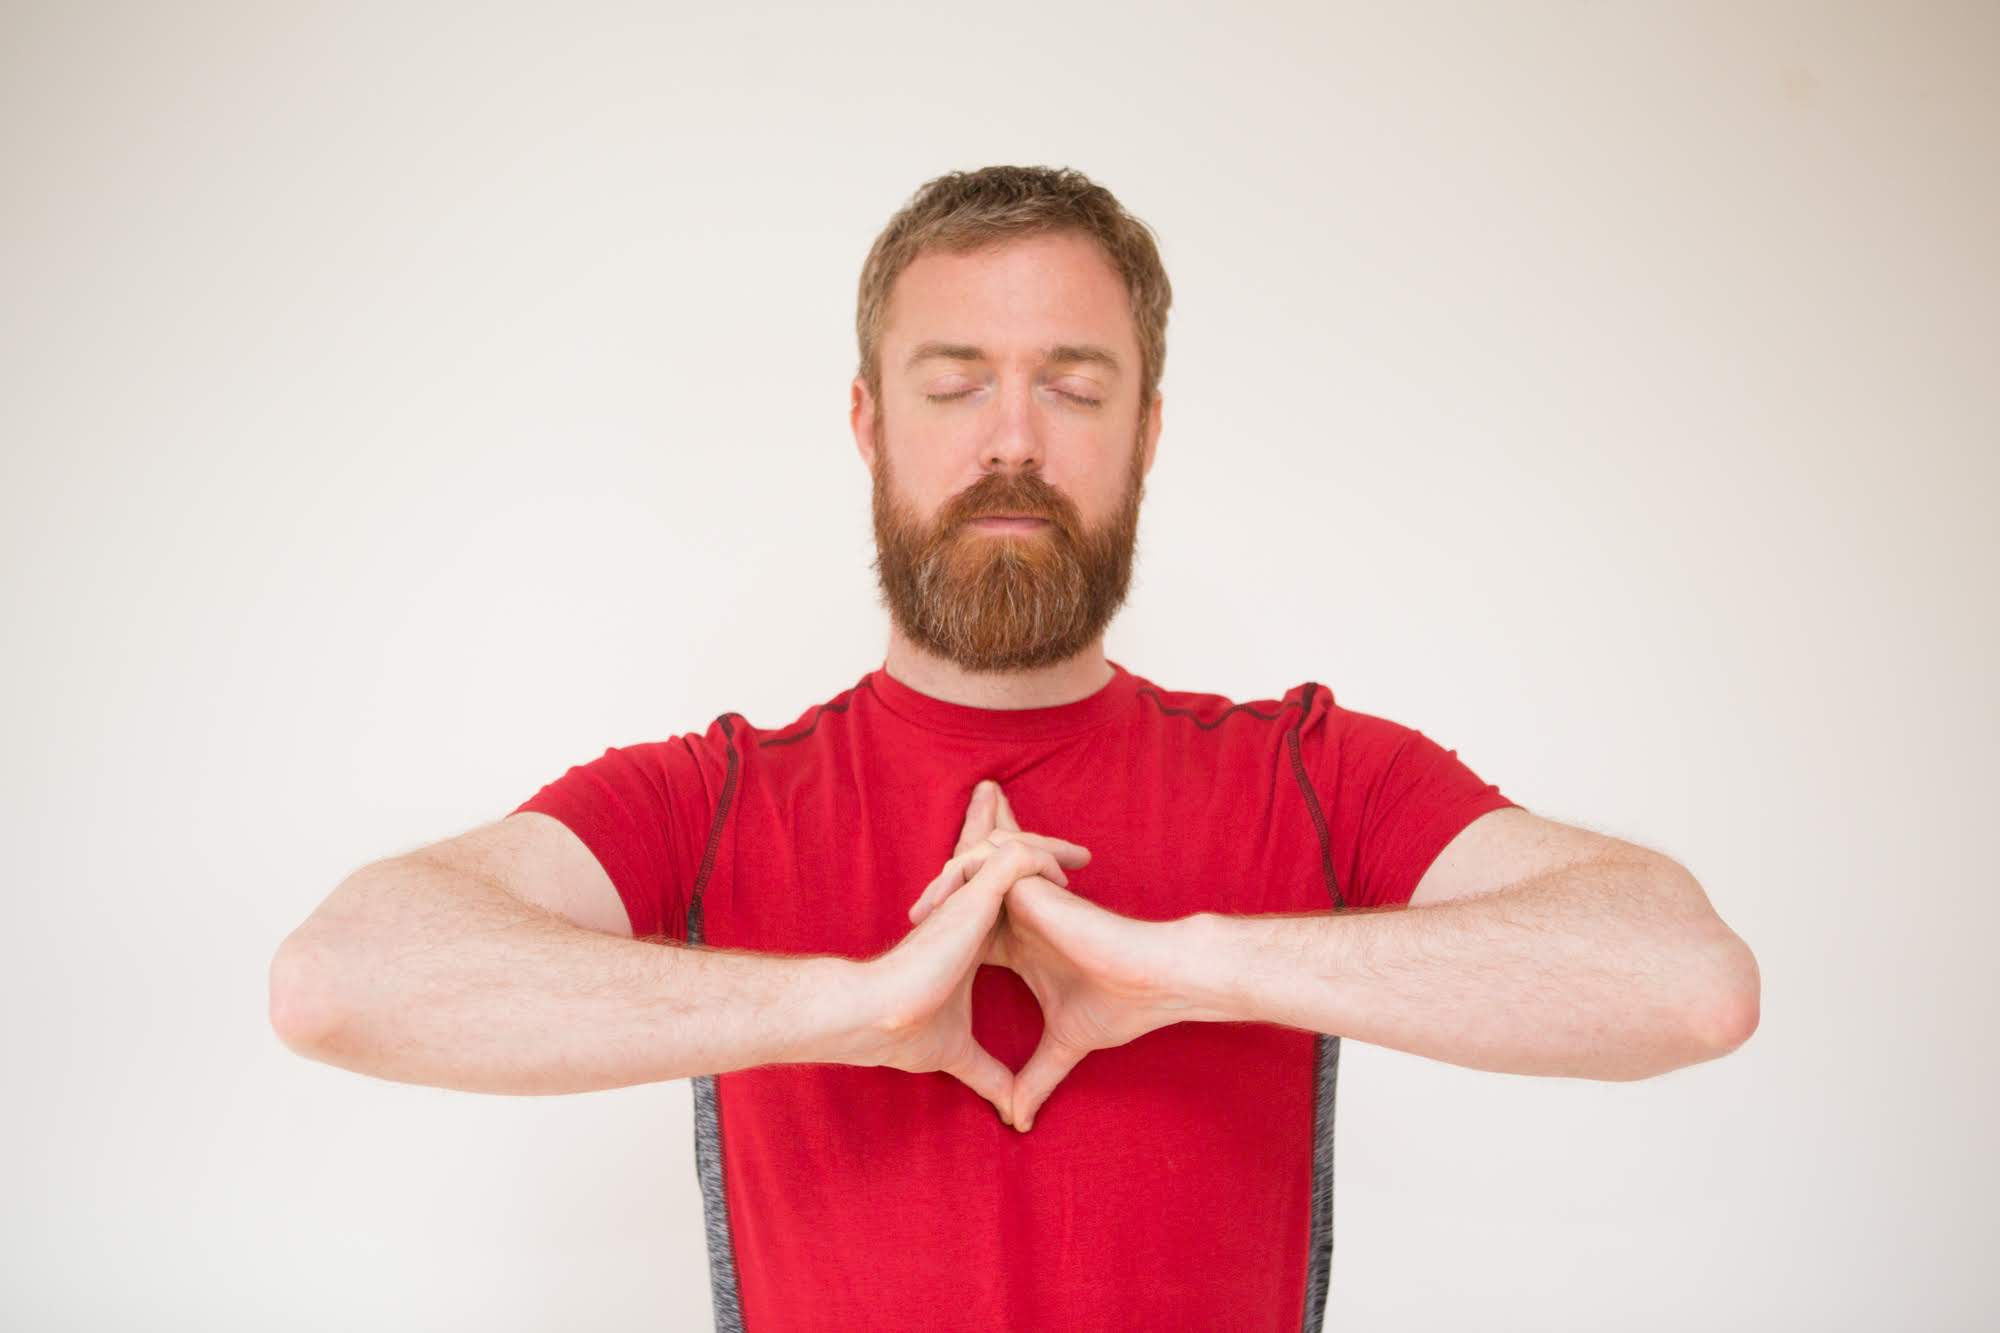
Hand position 4
- Interlock your hands with the fingers curled down (as if you were praying).
- If you can straighten the middle finger so they point up (if this isn’t possible, then straighten the index fingers)
- The straighten the thumbs so they point out.
- Now the tricky bit: keeping the hands like this turn the hands to come to rest with the middle (or index) fingers resting at the notch at the base of the the throat, and the thumbs towards the bottom of the breast bone. Your elbows will point out (see the photo at the top of the page, and also to the right.
Hand position 4 – Alternative
If you can’t manage to work out the hands in the above, this is an alternative:
- Bring the left hand to rest on the breast bone, fingers pointing upwards as is most comfortable.
- Bring the right hand to rest on top of the left hand.
- Breathe with the hands resting on top of each other, noticing how things feel.

How long to do it:
Ideally you want to do it for 5 minutes. However if this makes you anxious or uncomfortable then return to your normal breathing. You can build up to a longer period as you become more comfortable with it. It will be better to do just five breaths with comfort and ease than it would to struggle to do it for 5 minutes.
Video
Here’s a quick video showing you the whole sequence, talking you through it.
Thanks for reading this, my lovely Interonauts (and hopefully you understand a bit more about why I call us that)
Tim

Bibliography:
Chaitow, L., Bradley, D, & Gilbert, C (2014) Recognizing and Treating Breathing Disorders: A multidisciplinary approach (2nd Edition), Churchill Livingstone

