The feet are an area that many of us over look, and may try to not think about. However, they are how we interact with the world and move through it so we should at times give them some love.
There are 22 bones (!) in the foot itself, and they have 33 joints! The foot and ankle have a lot of sensory nerve endings and motor nerves that give the foot muscles their instructions. However, we often cover the foot in big balls of cotton wool (i.e. shoes) that insulate us from the world we are travelling through. This might mean we don’t fully use and exercise the muscles that in the lower leg (all of which attach onto the foot) and those that are within the foot itself (which can get a bit lazy). This can lead to a lack of mobility in the ankle and foot, arches that are less developed than maybe ideal. This can then lead to changes in the way the legs move and any alterations elsewhere in the body (if I extrapolate a whole lot of assumptions). We can also just forget that the feet are more than a singular slab of bone and meat, rather than wonderful . I did write about the feet a while ago in this blog post.
This page and the video right at the end takes you through a couple of exercises that are looking to awaken, mobilise and strengthen your feet. As always it is your responsibility to take care when doing these, and if any movements generate pain or discomfort then stop.
Equipment
A chair might be helpful if you can’t sit on the floor or if your balance is really bad. Howcver, standing for the calf lifts and toes exercises is better
Part 1 – Foot massage and toe spreading
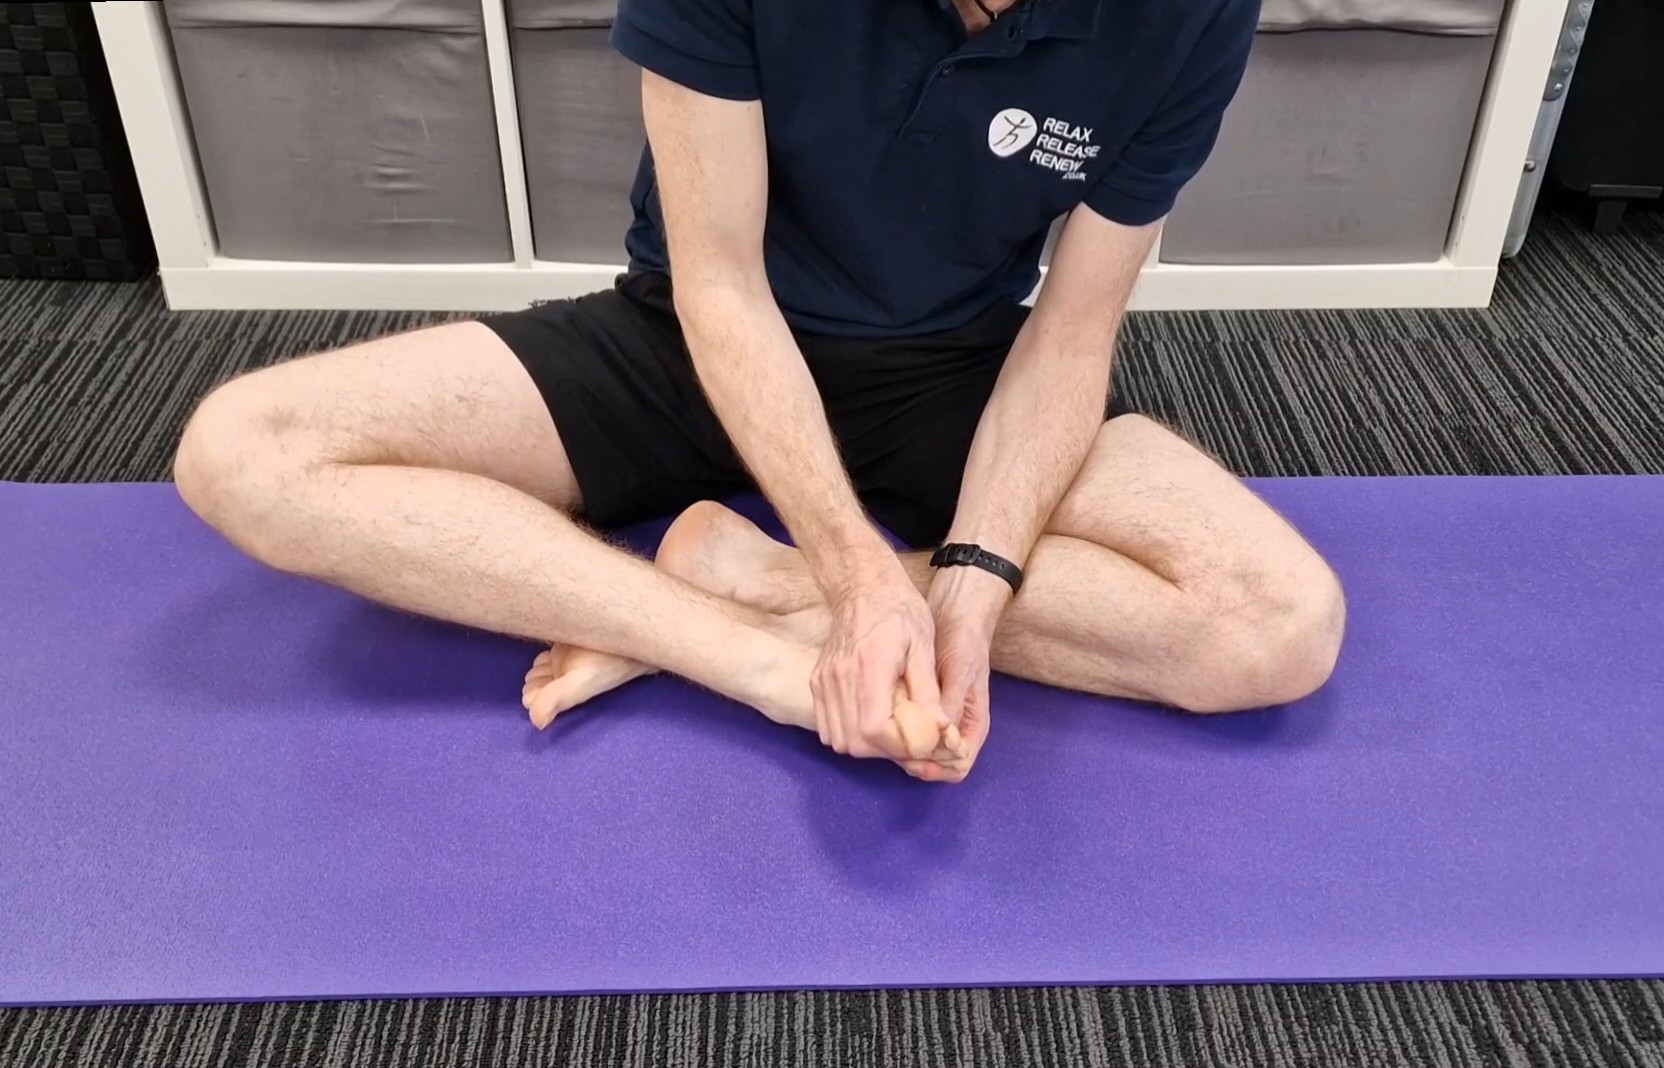
- Sit in such a way that you can get hold of your foot.
- Grab hold of your foot.
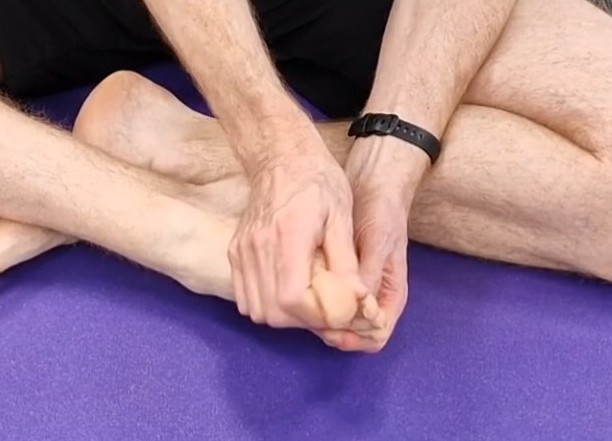
- Use your fingers and thumbs to massage into the sole of the foot.
- Use your fingers to rotate the toes, one at a time.
- If you want you can drag your knuckles from heel to toes and back again.
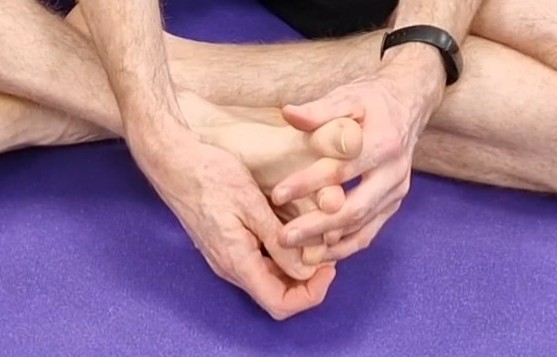
- Work your fingers between each toes, like toe spreaders, aiming to get fingers between each toe. If it’s too much to do all at the same time, then do them in batches.
- Switch legs and do the same on the other foot.
- See how alive your feet feel now.
Part 2 – Calf raises – both feet
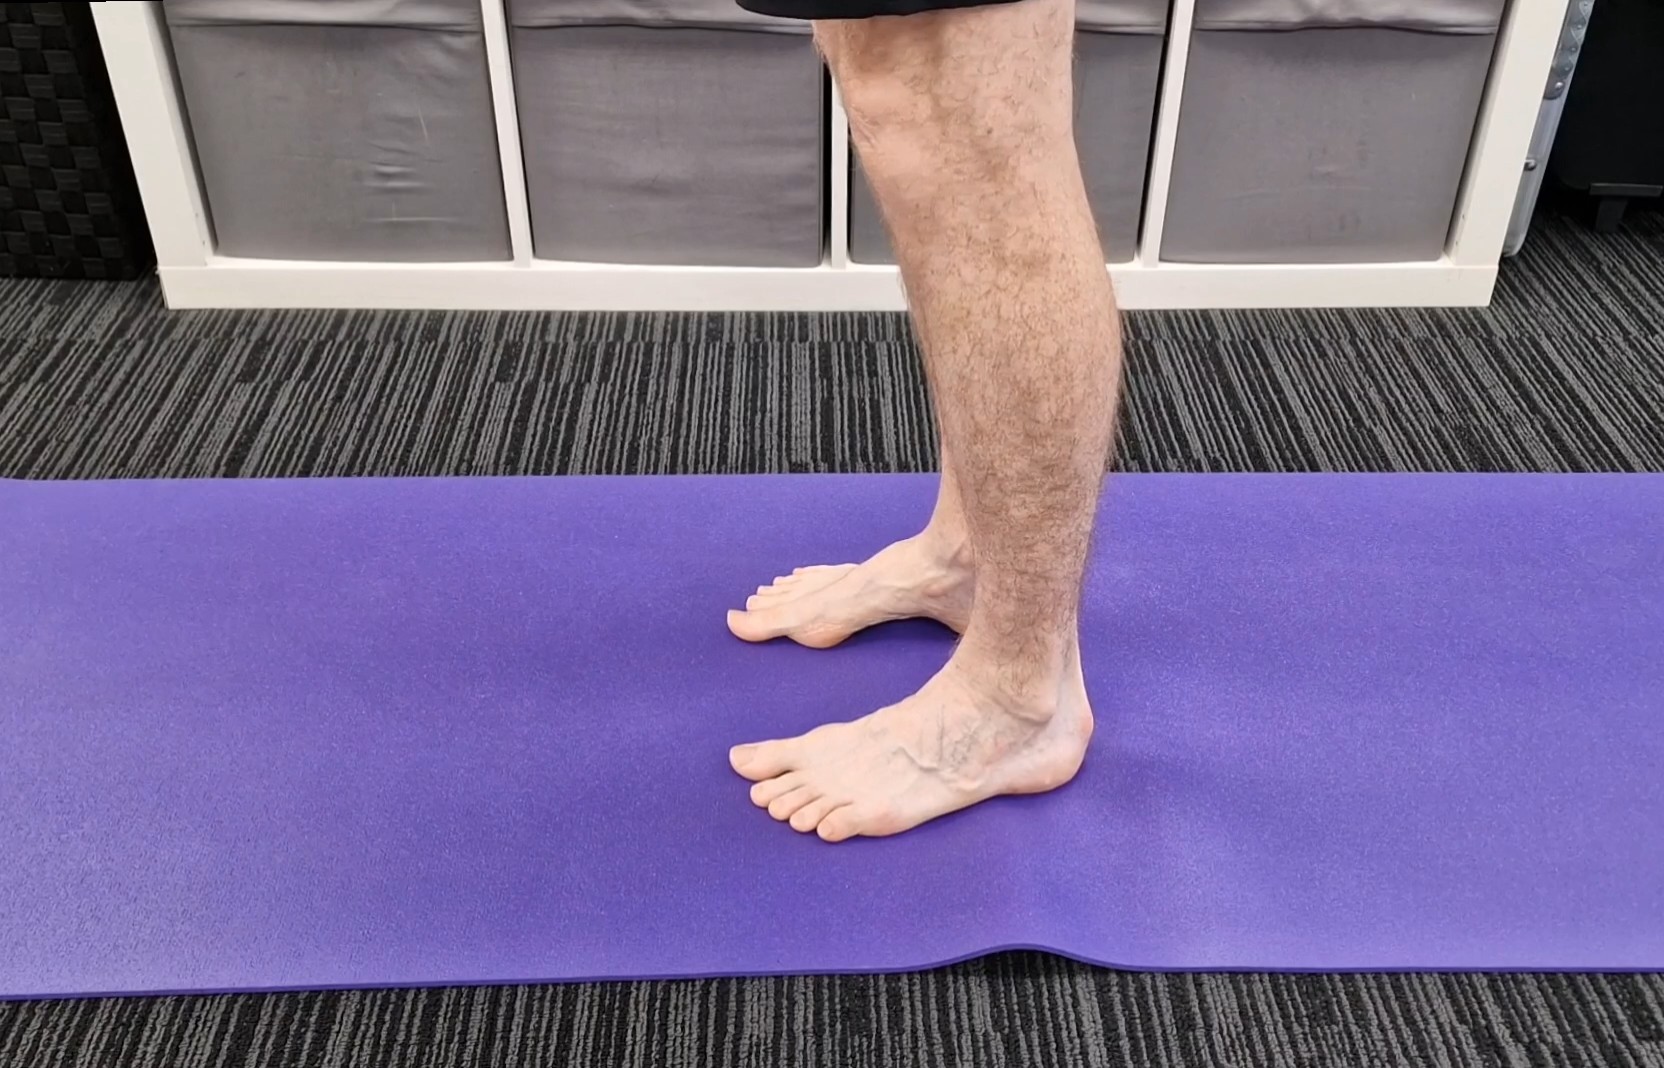
- Stand with both feet on the floor.
- Feel the balls of the feet, and the toes spreading (not gripping) from the balls away from the heels.
- Pushing down into the balls of the feet, lift both heels off the ground.
- When you are pushing up, try not to pitch your body forward. You are aiming to almost slide your back up and down an imaginary wall. There will be a bit of leaning forwards as your balance changes, but it should not be a big shift.
- Repeat with both feet on the ground for 10-15 repetitions.
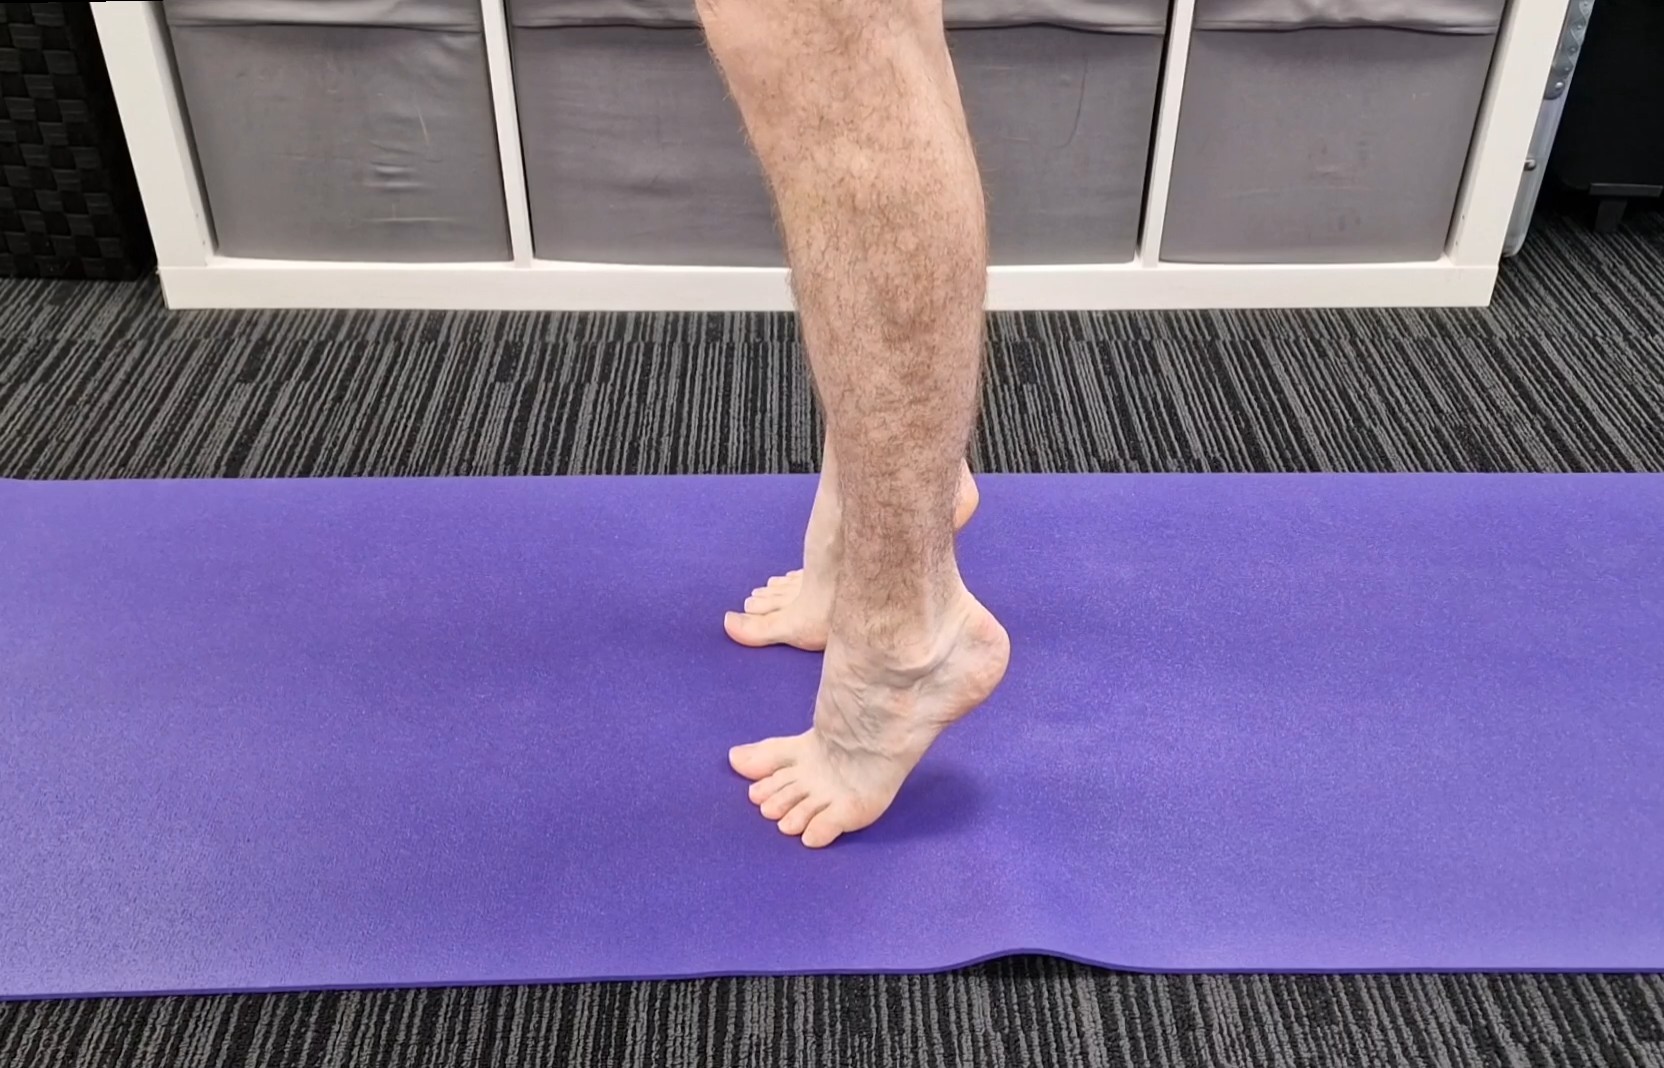
Part 3 – Calf raises – One foot
This is the progression from Part 2, and if you’re not strong enough (yet) to do this, try, but work with both feet until that becomse easier. In an ideal world you’ll be able to do at least 25 (!!!) single leg calf raises with minimal wobbling.
- Stand with both feet on the floor.
- Feel the balls of one foot, and the toes spreading (not gripping) from the balls away from the heel.
- Balance onto that foot.
- Pushing down into the balls of the foot, lift the heel off the ground.
- When you are pushing up, try not to pitch your body forward. You are aiming to almost slide your back up and down an imaginary wall. There will be a bit of leaning forwards as your balance changes, but it should not be a big shift.
- Also try to keep the ankle stable and steady throughout the movement as you’re working on strengthening the stabilising muscles.
- Repeat as many repetitions as you can manage,. Ultimately doing them in batches of 25.
- Repeat with the other foot.
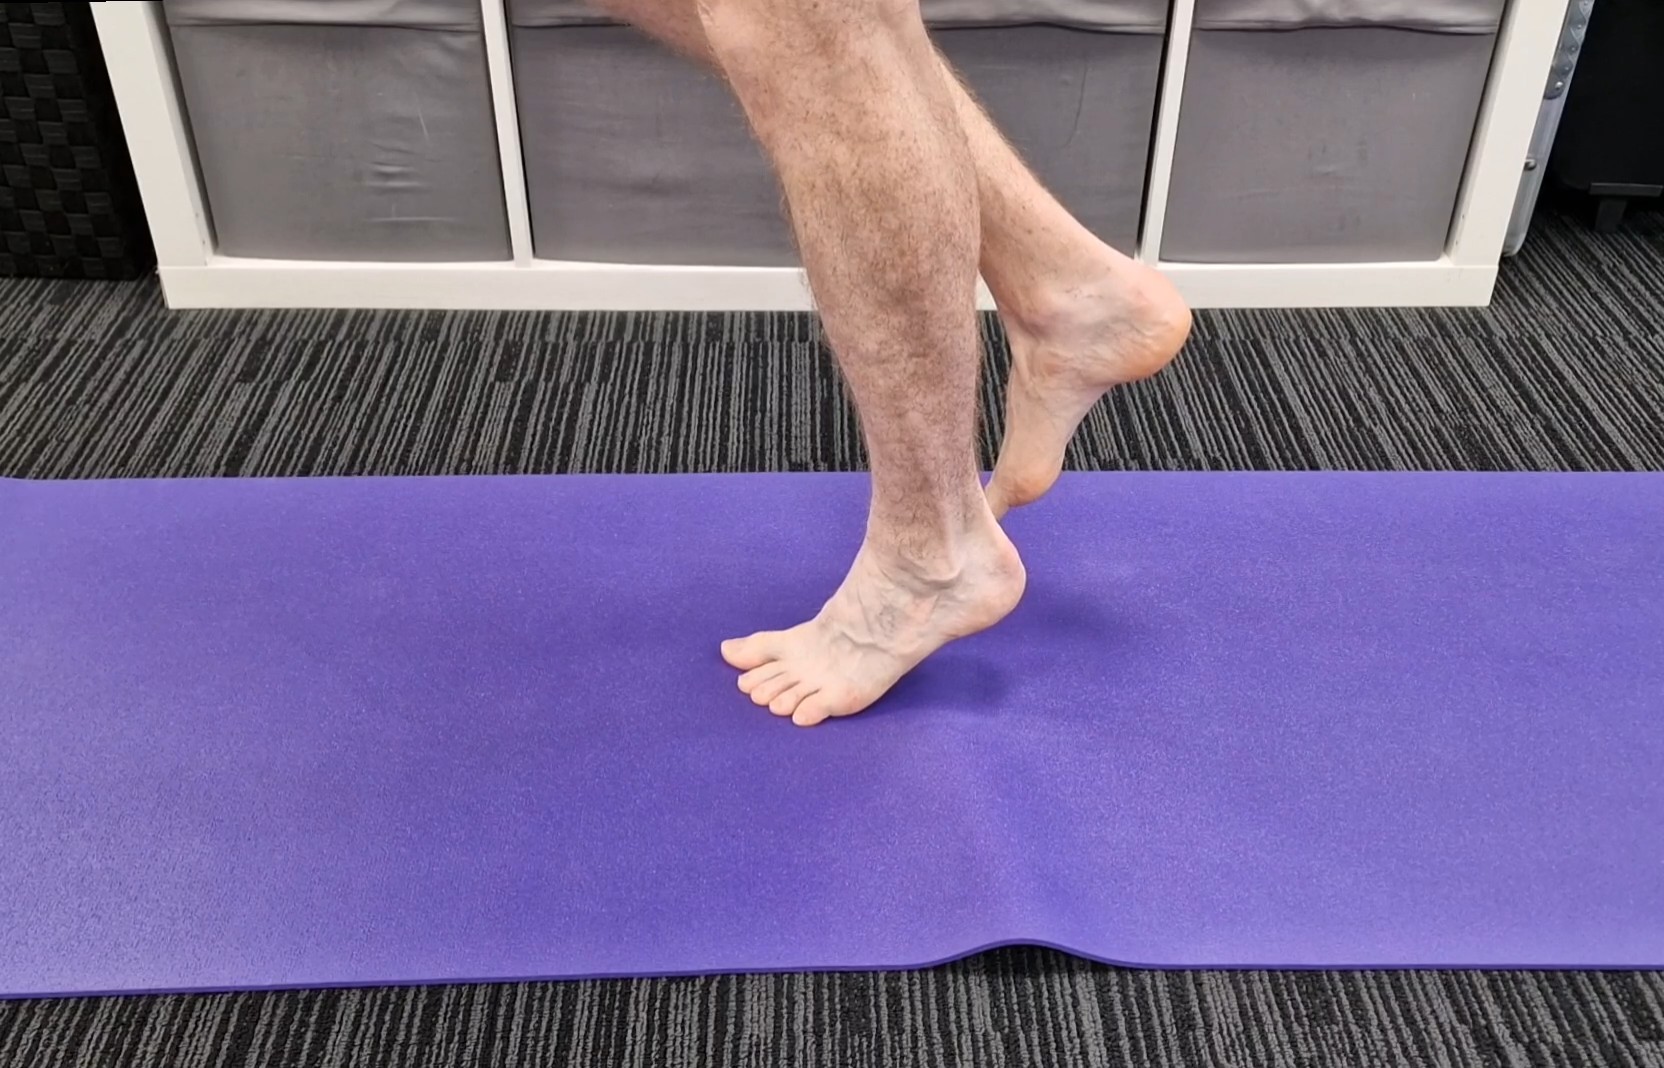
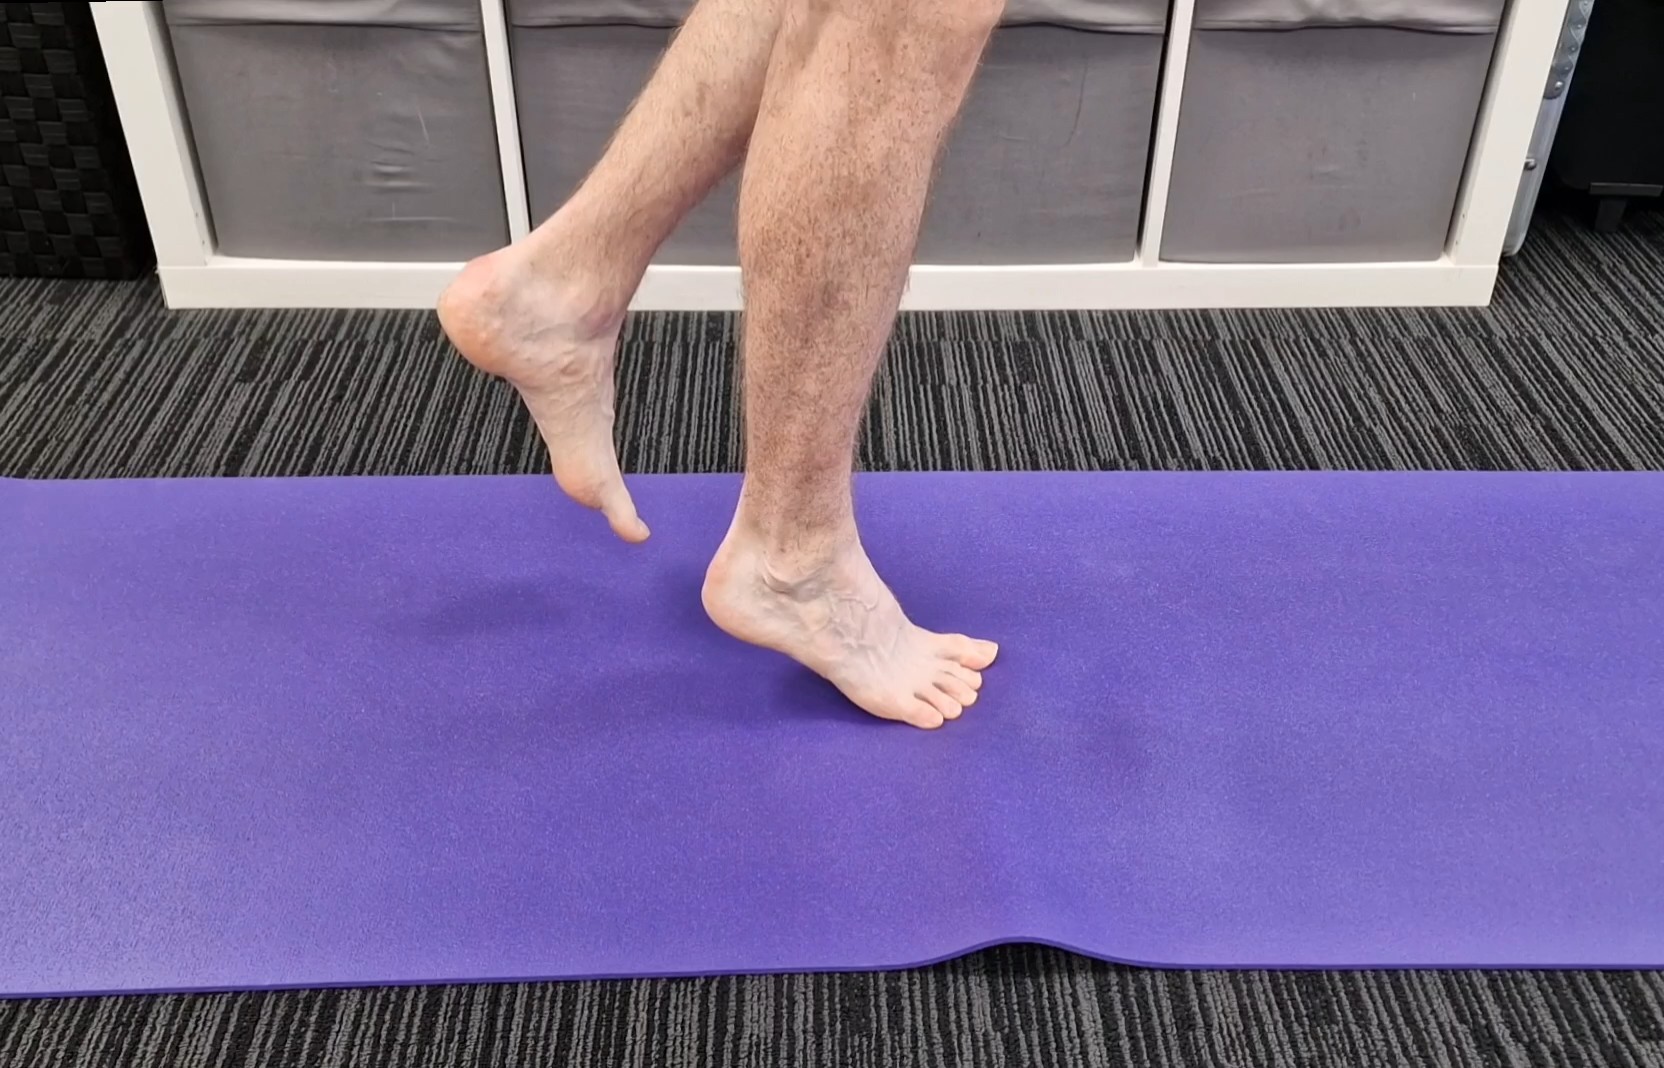
Part 4 – Foot and toe movements
Part 4.1 – arches
- Stand with the feet resting on the ground.
- Feel the balls of the toes and the heels.
- Without scrunching your toes, can you bring the balls of the feet closer to the heels. This is to create a dome or arch underneath.
- Hold for a count of five.
- Relax and then repeat four more times.
- You are unlikely to move a great but the arch wants to feel like it is lifting upwards.
Hint: If your toes will not move, bring your hands into the edges of your vision when you’re looking at your feet and do the same movements as you want the toes to do with your fingers at the same time. This can help the brain make the connection with the movements. Also do them one foot at a time.
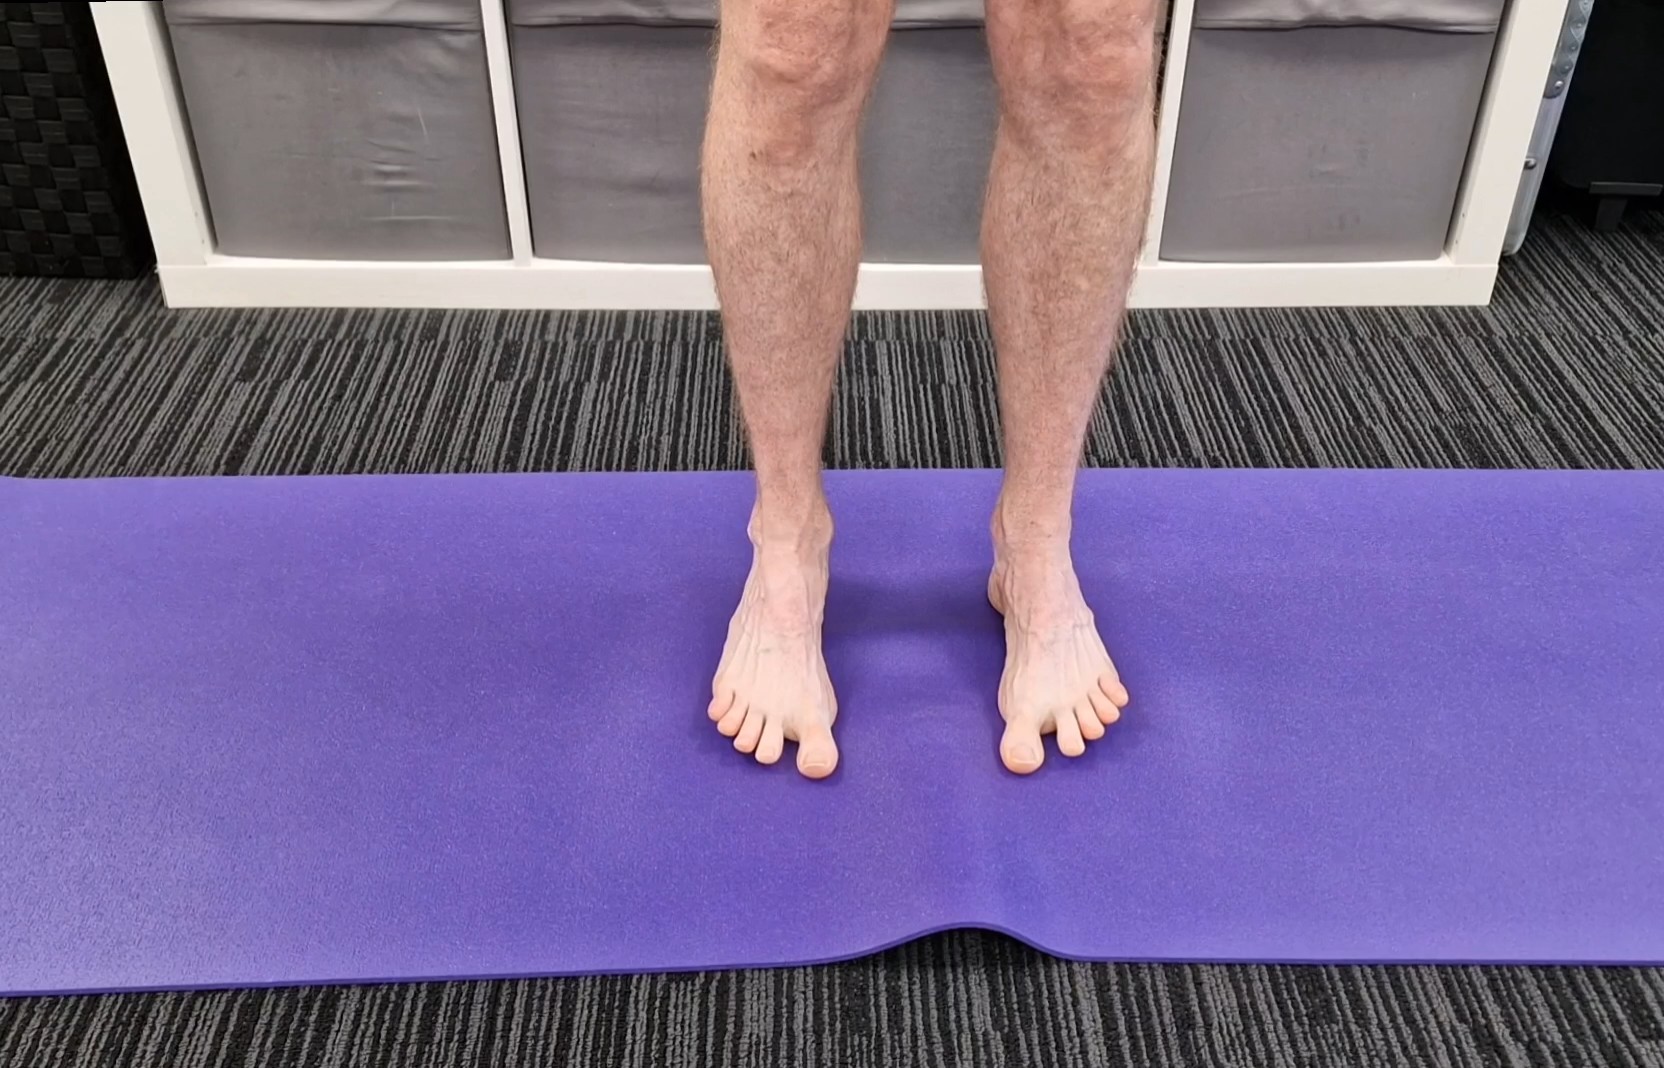
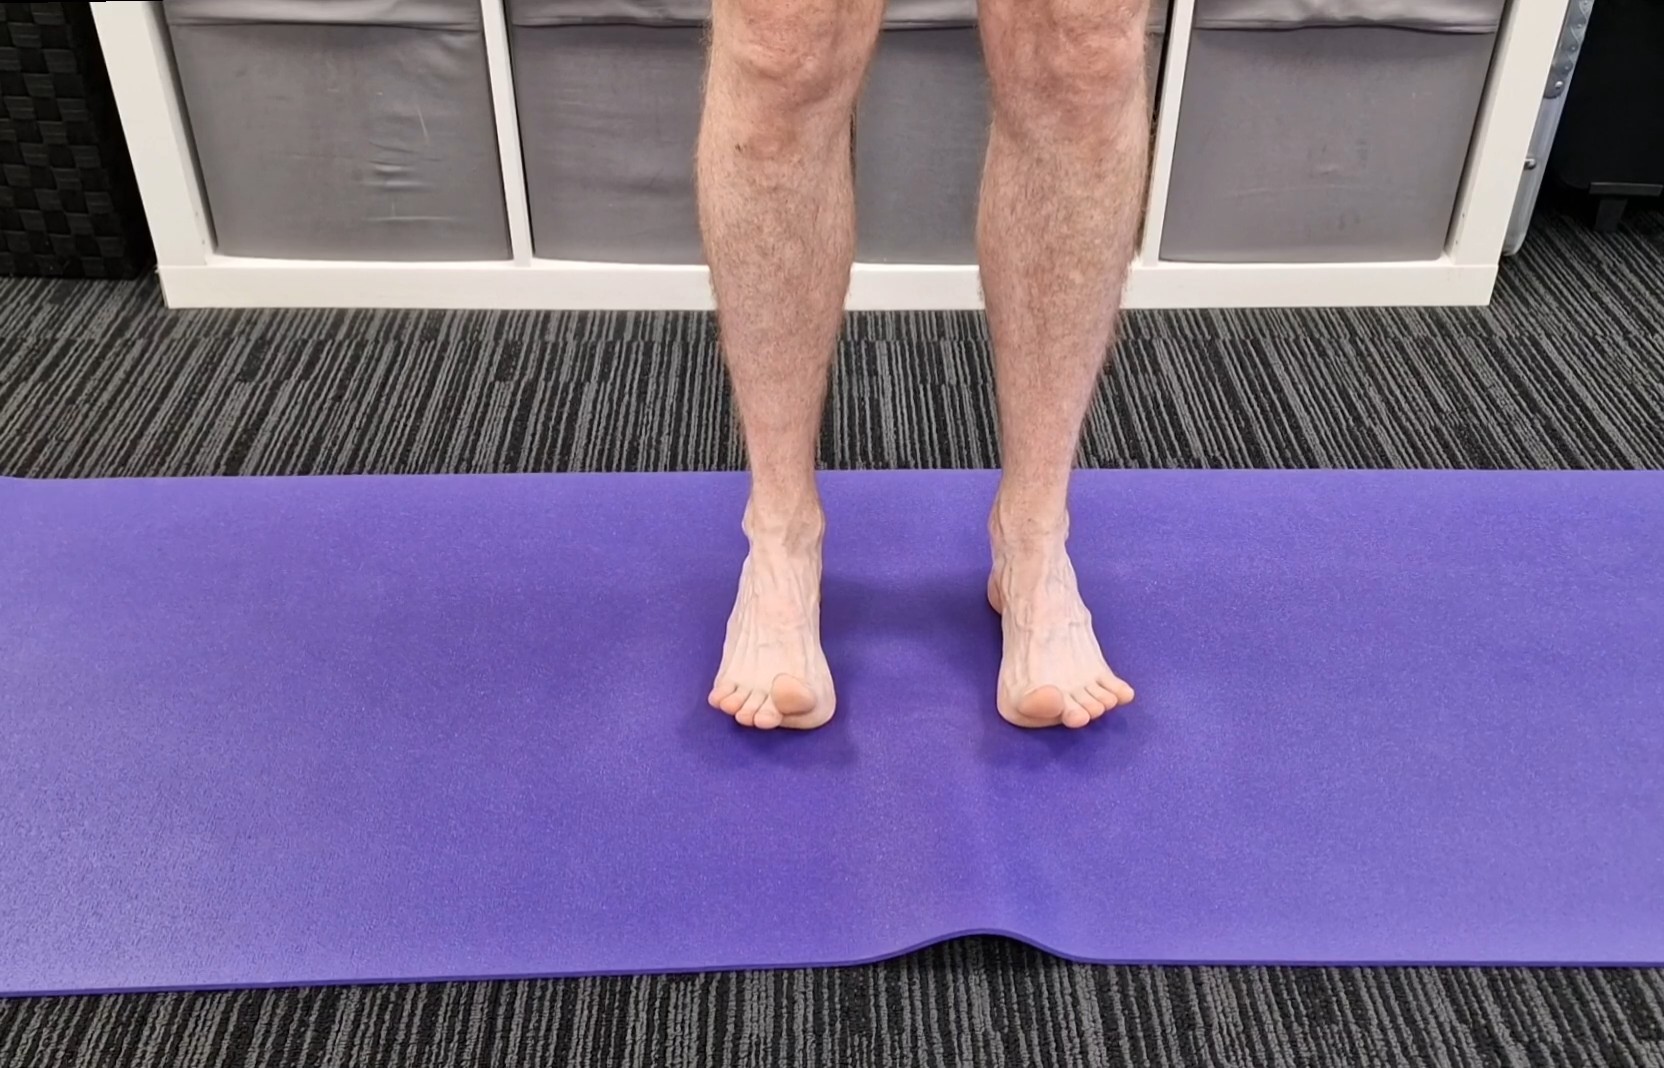
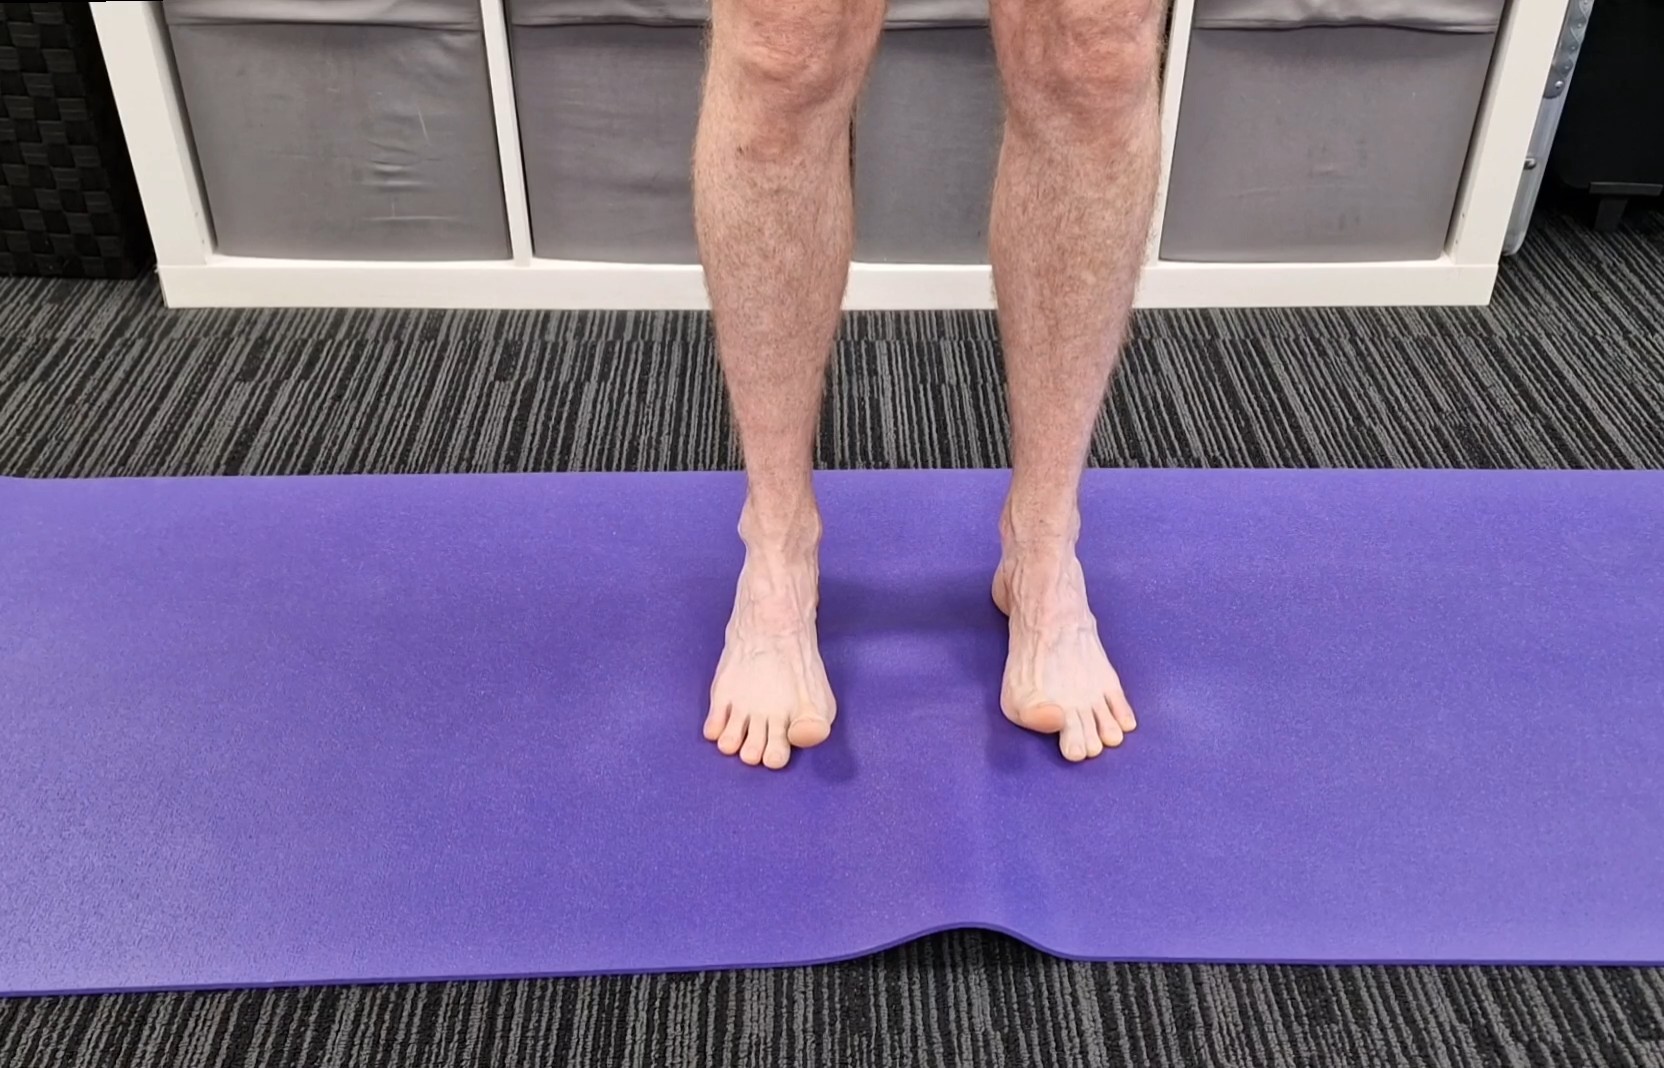

Part 4.2 – Toe spreading
- Stand with the feet resting on the ground.
- Lift all of the toes up.
- Then place the toes back down, starting with the big toes, bringing the together as much as possible, then fanning the smaller toes away from the big toes.
- Repeat lifting and spreading from the big toe down.
- Then reverse the movement, lifting the toes. Placing the smallest toe down as far out to the sides and fanning the toes away from this one, until the big toes are down.
- Repeat lifting and spreading from the littlest toe.
- Relax
Part 4.3 – Toe movements
- Stand with the feet resting on the ground.
- Feel the balls of the toes and the heels.
- Lift all of the toes up.
- Can you bend them in the middle joint, without the tips touching the ground.
- Fan the toes out.
- Can you now pick up just the big toes, leaving the small toes on the ground.
- Fan the toes on the ground and relax.
- Can you now pick up the small toes, leaving the big toes on the ground. Don’t tip the feet at the ankles to do this, the movement should be in the toes only.
- Fan the toes on the ground and relax.
- Now, the hard one, can you keep the big toes and smallest toes on the ground whilst picking up the three in the middle?
- If you can do step 10, you can play with trying to move each toe individually. Some people can do it, because their body mapping for movement is very fine tuned and this is what we’re trying to improve, but it needs persistence and practise.
Video
Thanks for reading this my lovely Interonauts.
Tim


