
This abdominal self care is aimed to help the smooth transit of the contents of your digestive system, especially in the large intestine. This may help when things feel a little blocked up. Not saying that it has an immediate effect, but I’m not sure I would do this right before I was setting out on a journey, maybe try it when you know where you’re going to be for an hour or so. Also practice it regularly, so the body gets used to the sensation and the effect.
I was taught this by a Pelvic Floor Physio when attending their Myofascial Release for Pelvic Health course as constipation can be one the symptoms of pelvic floor issues.
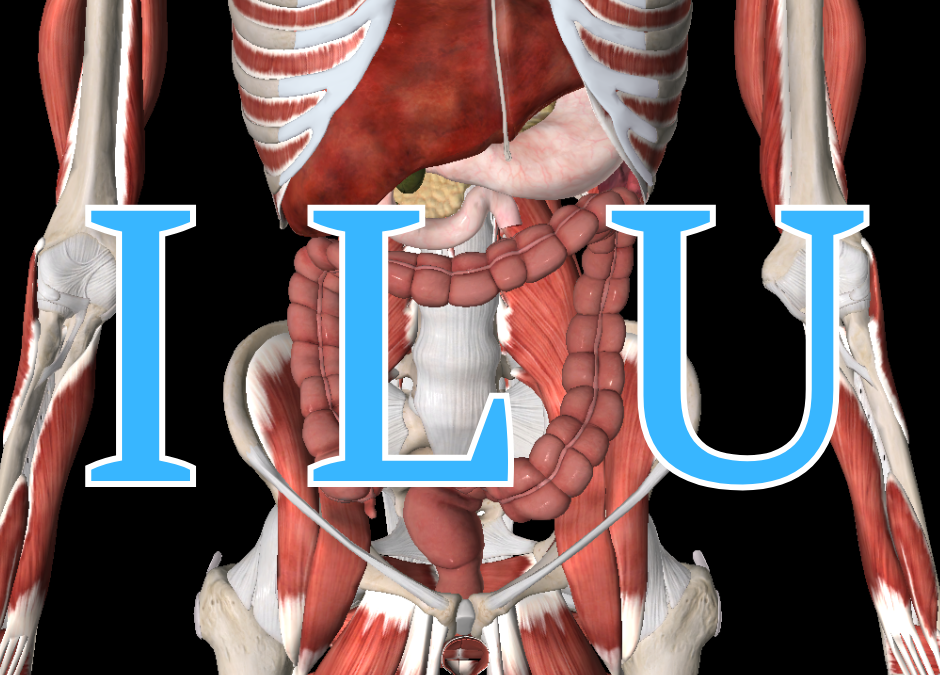
It is called the ILU because when you’re looking down at your belly it looks like you’re writing the letters I, L and U but the strokes go the wrong way (don’t worry it will become more apparent).
The large intestine starts just inside the right side of the pelvis, ascends to the base of the ribcage, across the body below the diaphragm and then descends back into the pelvis and then kinks a little bit to the centre and back before leaving via the anus. In the picture to the right, the large intestine is the wrinkled shape, and the small intestines have been removed to see the large intestine more clearly.
The contents start off as a thick soup (called chine) as it leaves the small intestine, and then as it travels through the colon the body absorbs the liquid and nutrients so that things get more solid.

Contraindication and considerations
If you suffer from diverticulitis or twisted bowel, I would not do this during a flare up.
If you have had abdominal surgery this should not be done unless told by a medical practitioner that you can have abdominal massage (typically until at least 6 weeks after surgery).
If you have mesh from a hernia repair avoid direct pressure and stop strokes well away from the site of the mesh.
If you have an inguineal hernia be gentle particularly if the stroke is anywhere near the hernia, wear any hernia supports whilst completing the strokes. and seek medical advice on whether this is suitable.
.
Steps:
Whilst I have separated these out to three parts for clarity, all three parts are done in order in one session. Esssentially we’re working more on the more solid bits more and first, so that we’re “clearing the way”
Part 1 – The “I” stroke
- Sit up, so the abdomen is not squashed.
- One hand makes contact just below the ribs on the left side of your belly to make a fixed point and sinks in.
- The other hand sinks in just below the fixed point and will be completing the stroke.
- It doesn’t matter which hand you use as the fixed point, whatever feels easiest for you. Personally I find the left hand as the fixed point works for me, with the right completing the stroke.
- The pressure is firm enough to feel like you’re making contact, but not actually like you’re pushing your hand to the back of the body..
- The stroke hand then maintains that pressure as it drags down the left hand side of the belly.
- If it feels really sticky in an area (like the hand can’t keep moving smoothly) then pause there until it feels like things ease and the dragging can easily continue.
- This stroke goes down into the pelvis as far towards the crease of the groin as possible. NB, If you have had a hernia repair (particularly with mesh) do not drag over the mesh.
- Repeat the stroke from the ribs down to the pelvis five times.
- Then move onto Part 2.


Part 2 – The “L” stroke
- Still sitting up so the abdomen isn’t squished.
- One hand makes contact just below the ribs on the right hand side of your belly, again making a fixed point.
- It doesn’t matter which hand you use, but I find it easiest for my right hand to make the fixed point, with the left completing the first part of the stroke.
- The other hand sinks in to make contact and draws across the body towards the starting point of the “I” stroke.
- Pausing as necessary when things feel sticky or tender (the mid line can be quite tender, so don’t rush)
- We then continue straight into the “I” stroke, making a fixed point.
- At this point my left hand becomes the fixed point and the right hand comes over to complete the stroke.
- Stroke down on the left hand side of the belly deep into the pelvis.
- Repeat the “L” stroke five times.
- Move onto Part 3


Part 3 – The “U” stroke
- Still sitting up nice and tall.
- One hand makes contact deep in the right side of the pelvis, again to make a fixed point.
- As before it doesn’t matter which hand is the fixed point and which completely the stroke.
- I, personally, find it easiest to have the left hand fixing on the right side of the pelvis, with the right hand completing the stroke.
- The stroke hand then sinks in and drags up (pausing as necessary) to the starting point of the “L” stroke, just below the ribs on the right side of the belly.
- Then we have a fixed point (here my right hand becomes the fixed point and my left hand comes up to complete the stroke) and stroke across the body to the start of the “I” stroke pausing at any sticky or tender places.
- Then the we fix a point below the ribs on the left side of the belly, and stroke downwards deep into the pelvis.
- Repeat the “U” stroke five times.


These three parts are done in one go, one after the other. It means that the descending colon (on the left side of the belly when you look down) which typically has the most solid contents gets 15 strokes, which should help things move along. The transverse colon across the body gets 10 strokes, and the ascending colon (on the right side of the belly) gets only five, but that should be the part of the large intestine with the most liquid contents.